

How I Painted my Fabric Armchair with Chalk Paint from Annie Sloan
I know a few of you have been waiting for this post, I can tell from my blog search history. I got 100s of direct messages when I posted this makeover only Instagram stories, many of you incredulous that I was painting a chair. Well here is how I did it.
I've been following Annie Sloan for a while now, I've used her waxes and chalk paints in other projects and I was watching one of her tutorials on making over a fabric chair and had that light bulb moment, when you know you've found the solution to a 14 year old grubby cream, faux suede chair that was destined for charity; well problem solved I could create a new one.
If you want to shop Annie's products to create a chair of you own you can do so below and if you want to learn more about the lady herself and how she grew her international business, you can read about her in a corresponding post here.
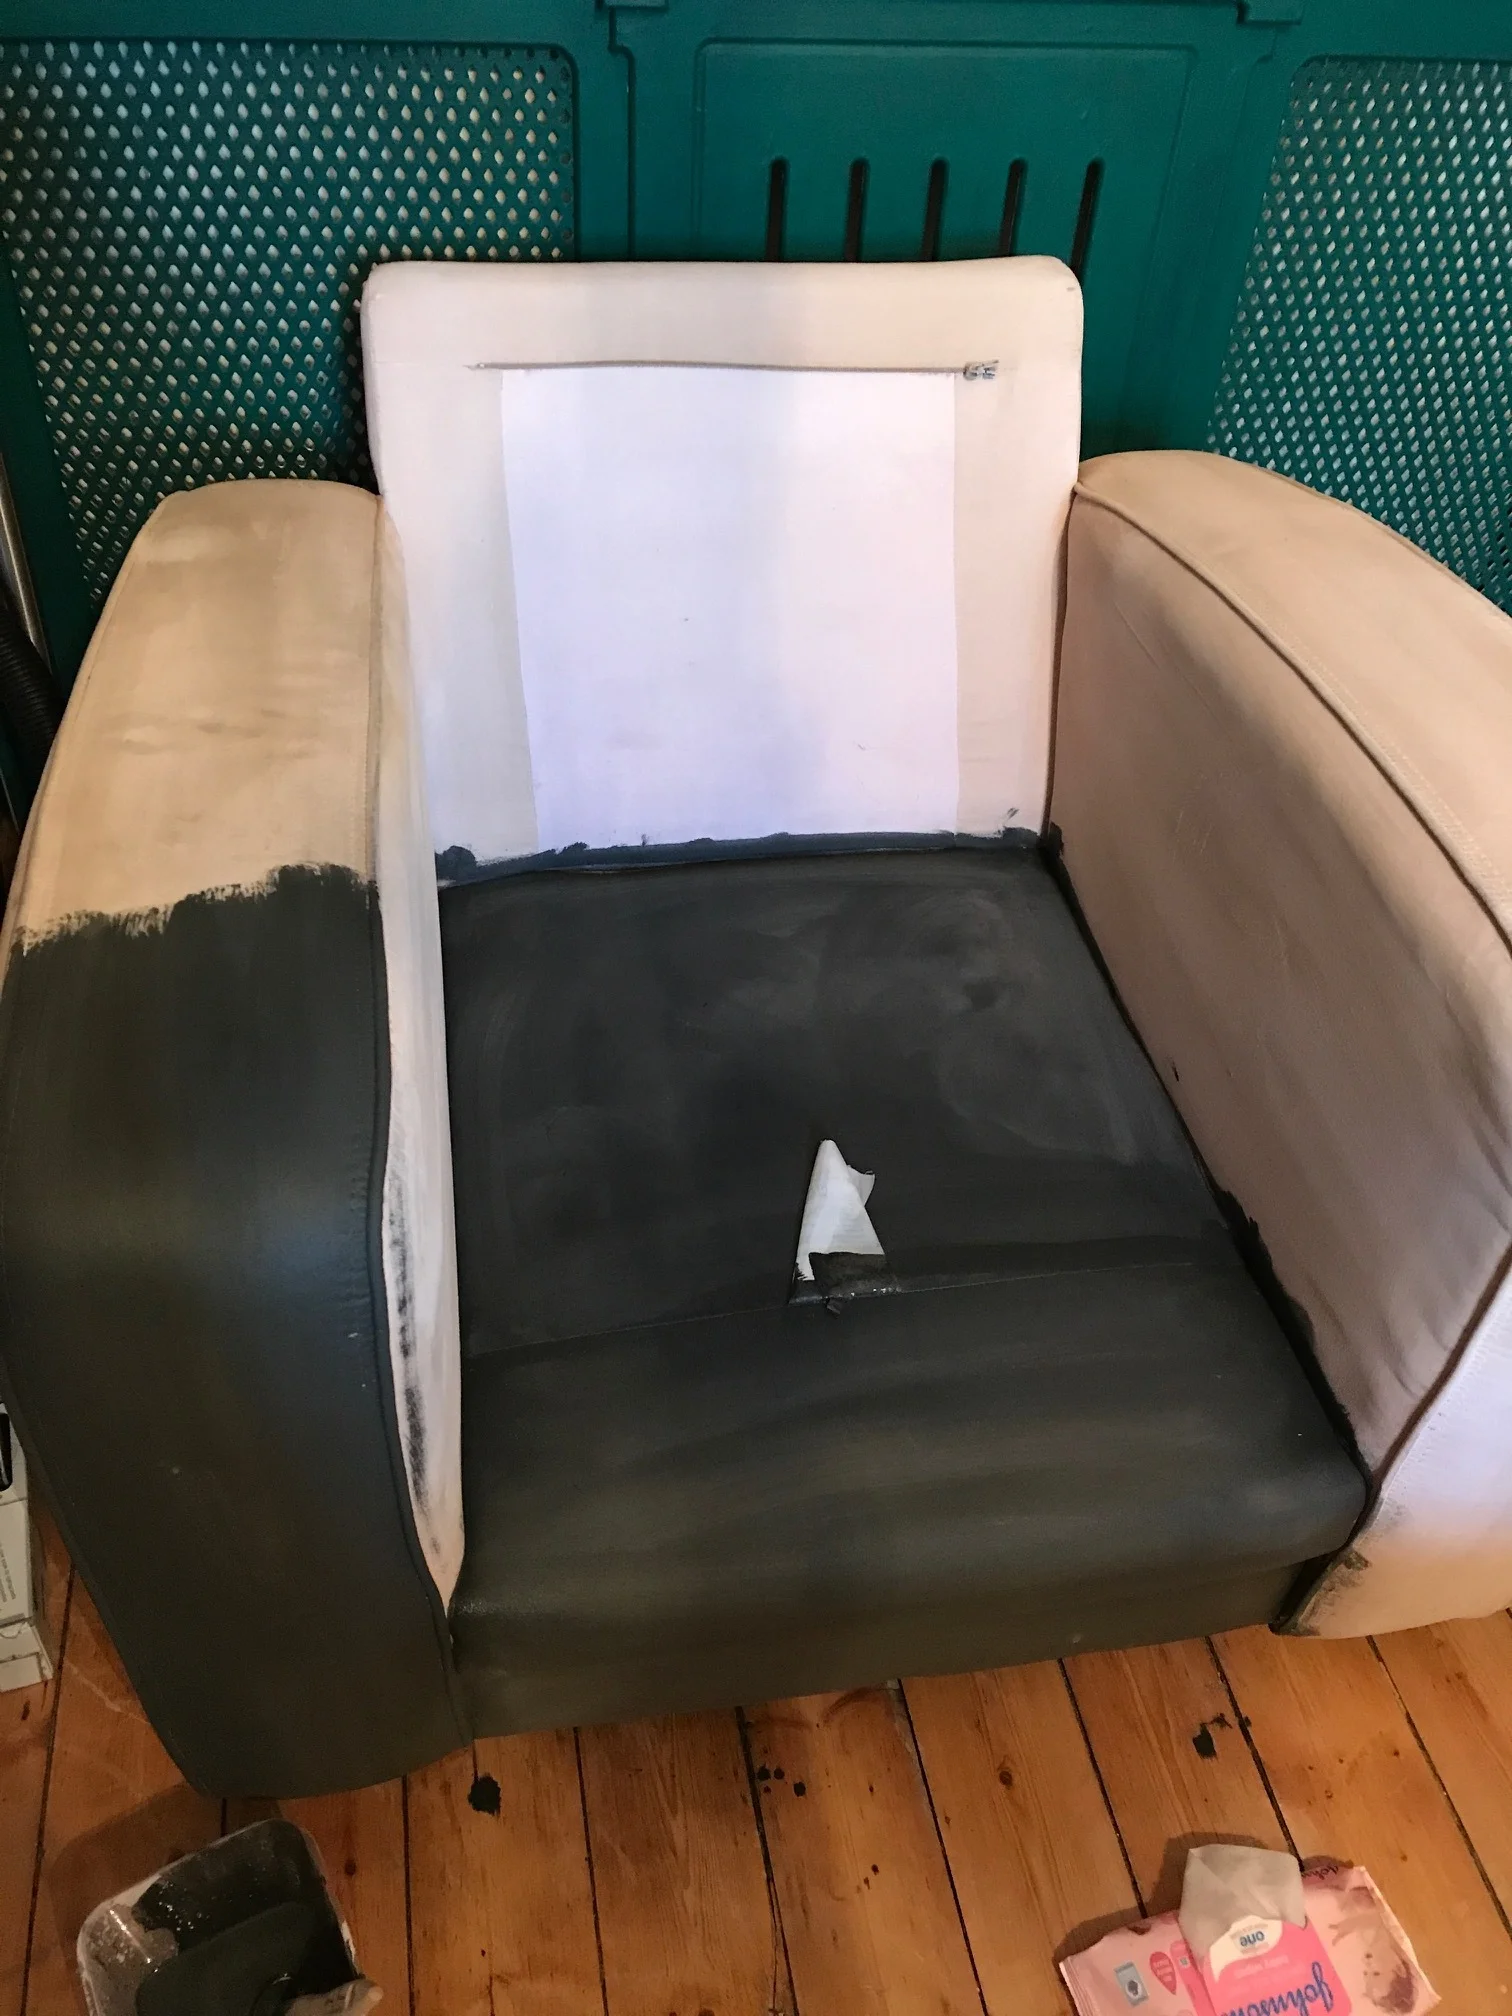
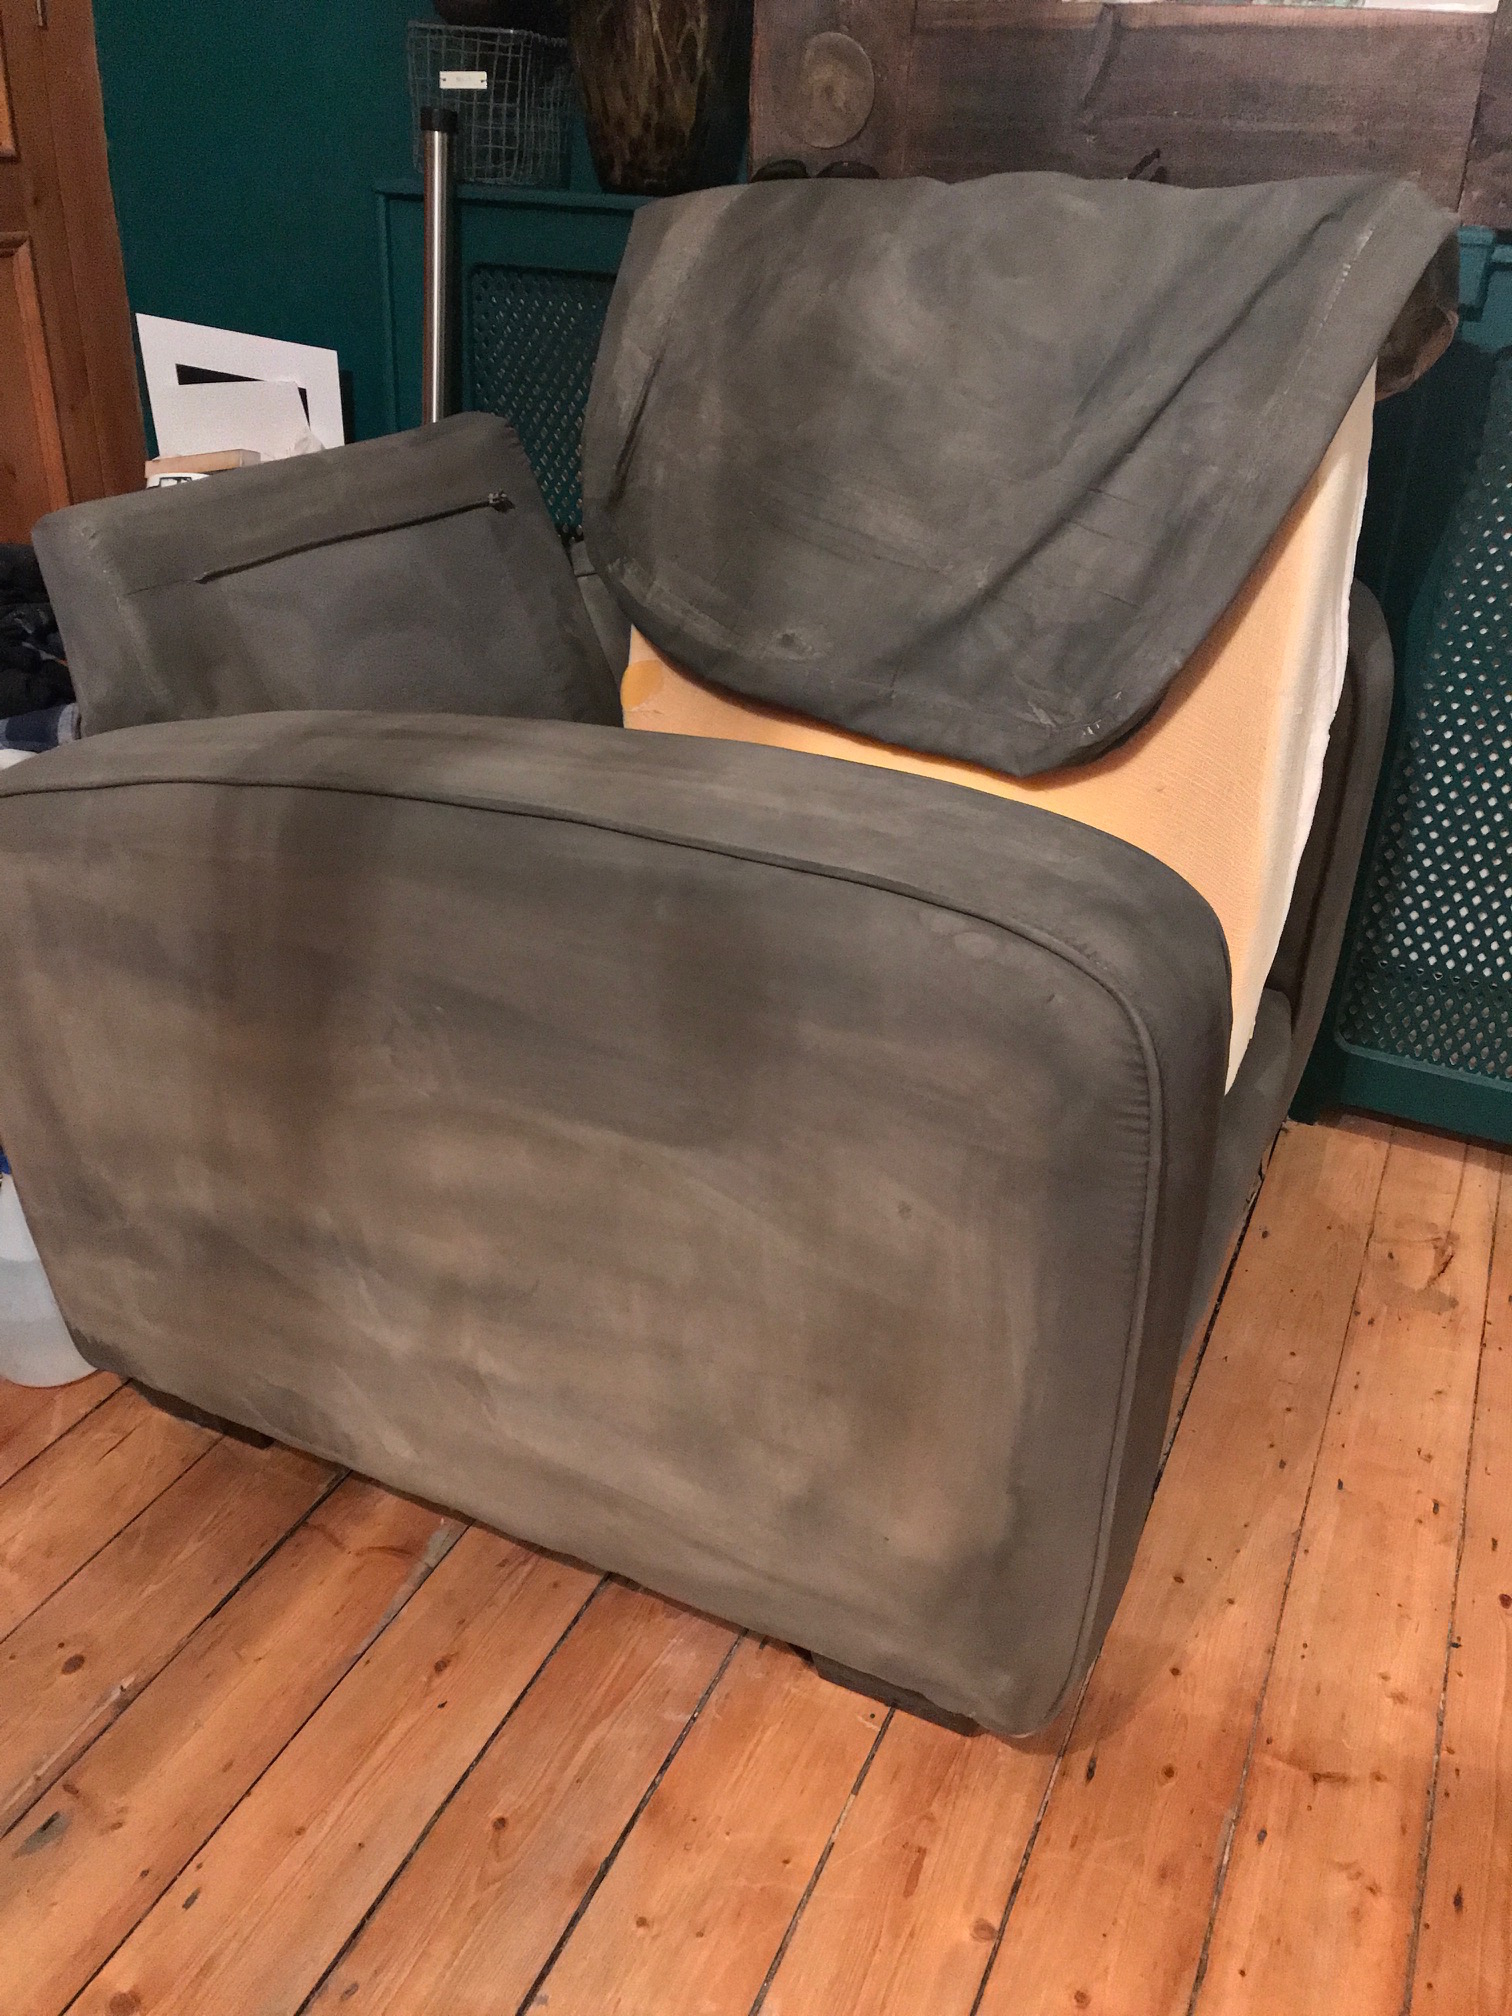
First coat, messy and a little nervous about this. Thank goodness it is an old chair.
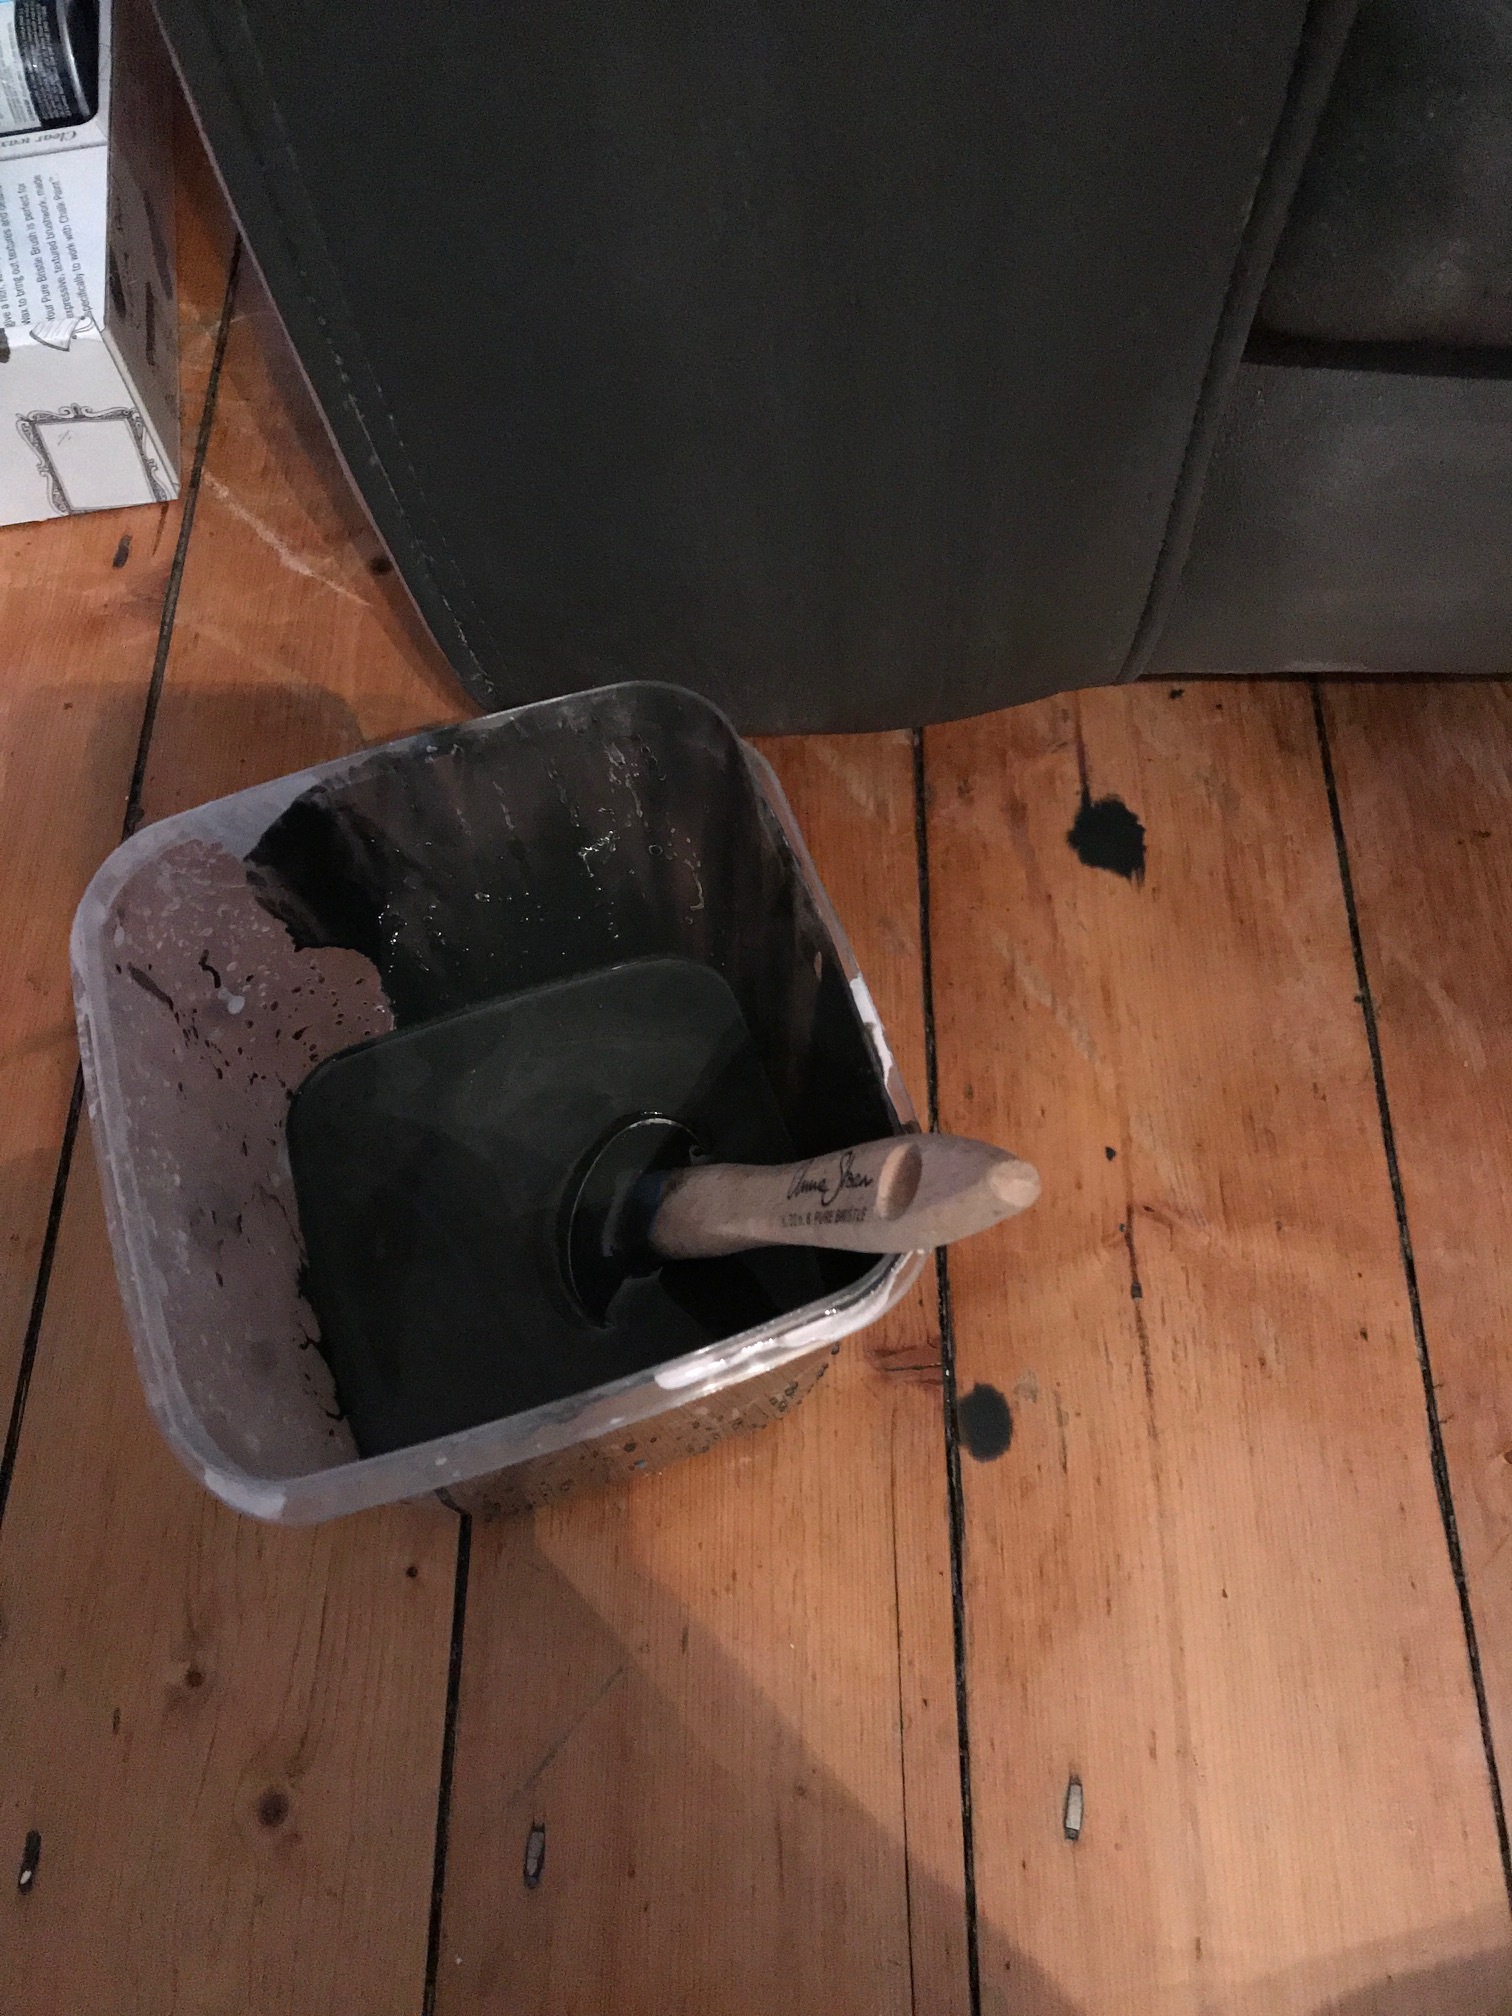
You will see throughout this post, a pack of wipes, it's an incredibly messy job and one I'd recommend doing outside or in a garage, if possible. I was renovating my bedroom at the time and had varnished floors so it was easier for me just to use the room and clean up afterwards.
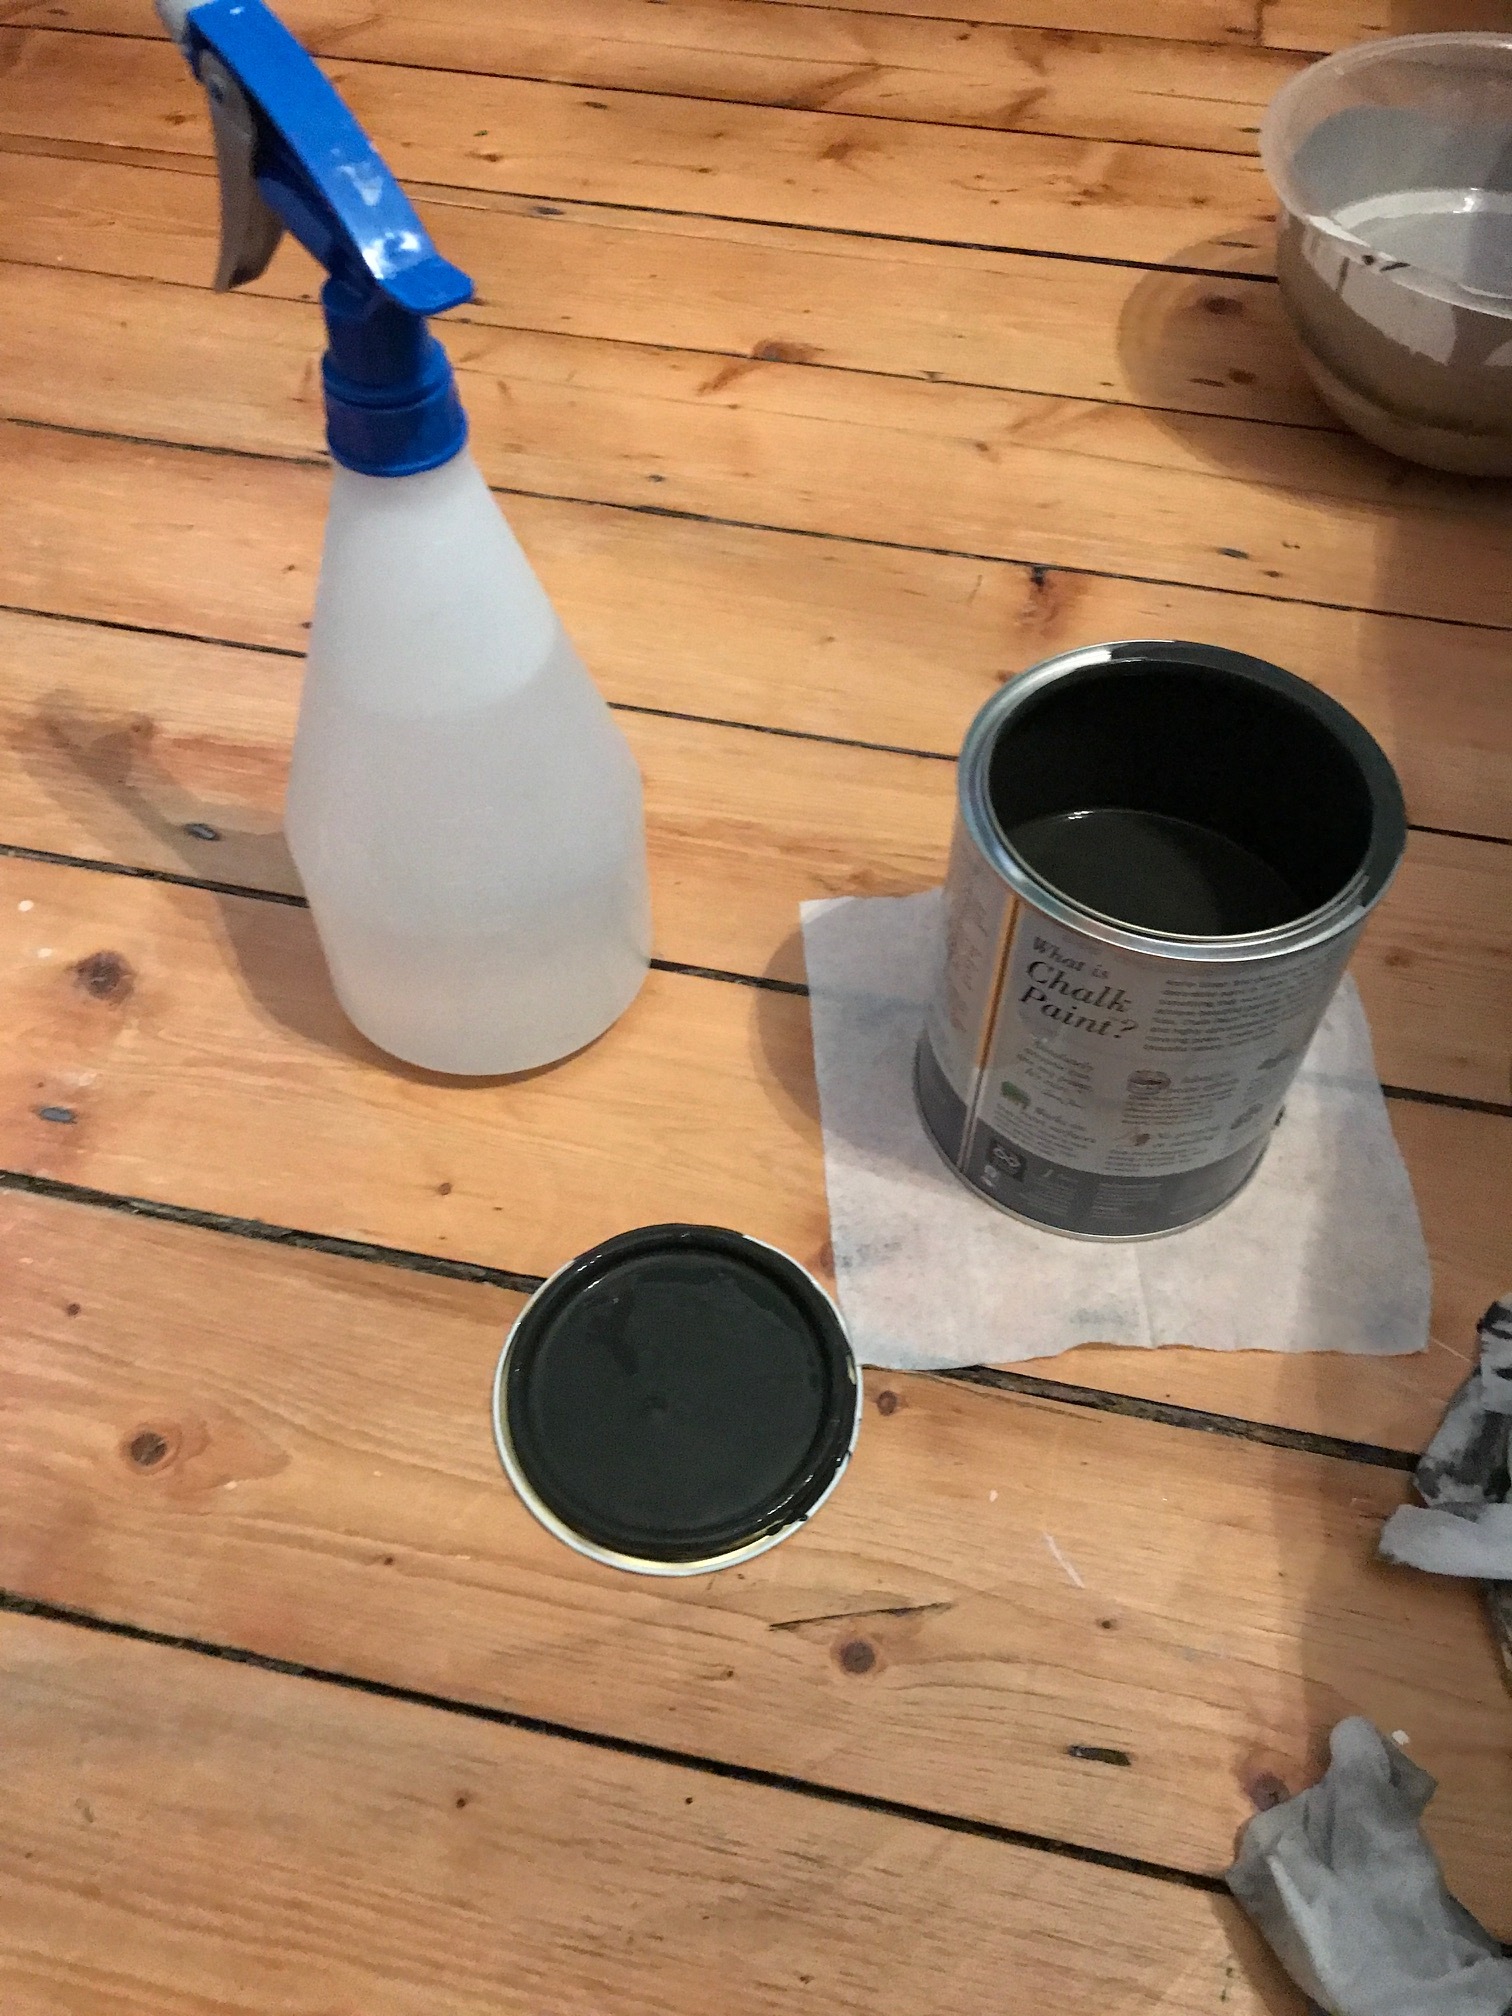
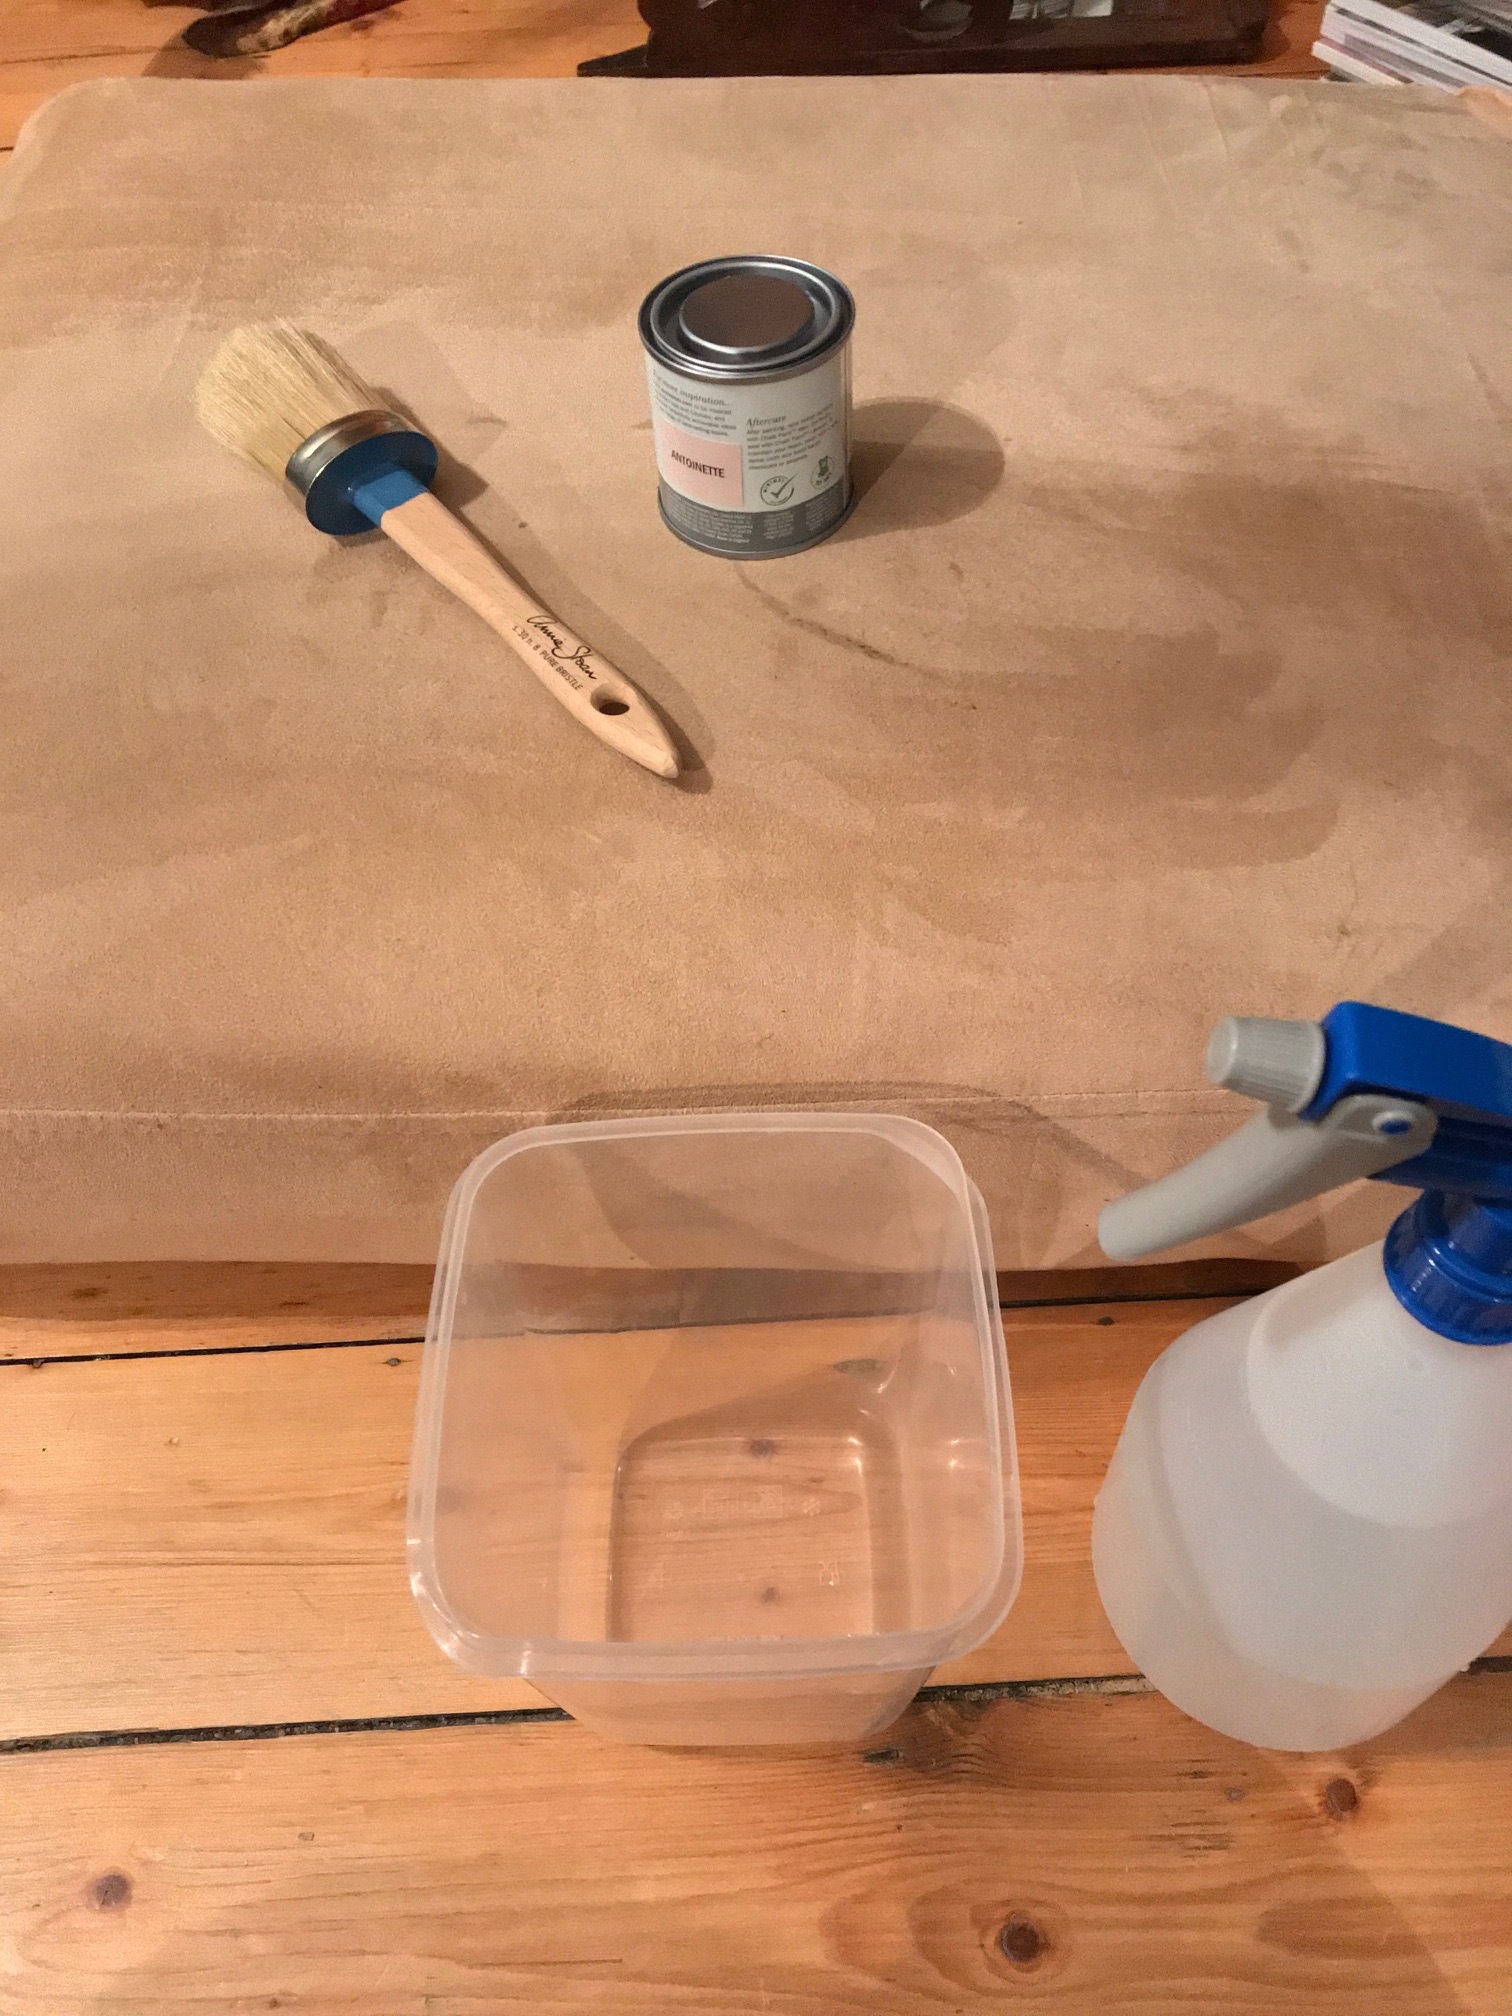
Below you will see some of the things you need to start the job; chalk paint (this won't work with any paint but chalk paint allows the surface to breath so is perfect for this), a spray bottle for water, a brush, this one from Annie Sloan was a great size for applying the paint, and a bucket/carton for diluting the paint.
I diluted the paint 1:10 with water, hence the messy part. I wasn't sure how dark the paint would go on so wanted to keep it fairly dilute. Also, you aren't painting the chair per se, you are effectively dyeing the fabric and spreading on undiluted paint just won't work.
I then sprayed the fabric with water to make the surface wet, and began adding paint. The thick brush is ideal for this job as this isn't like painting a wall you have to rub the paint into the fabric so you don't get lines/a tie dye effect at the end.
It really is incredibly quick (20 minutes) to do this first coat and the chair, as you will see below, has come out a lovely dark grey colour.


Here you can see the chair dries much lighter and quite patchy after the first coat, so I planned on doing at least two more. I was aiming to create a vintage look and so it was a bit of trial and error to get the look I was after.
You have to leave the chair 12-24 hours between each coat to allow it to dry properly.
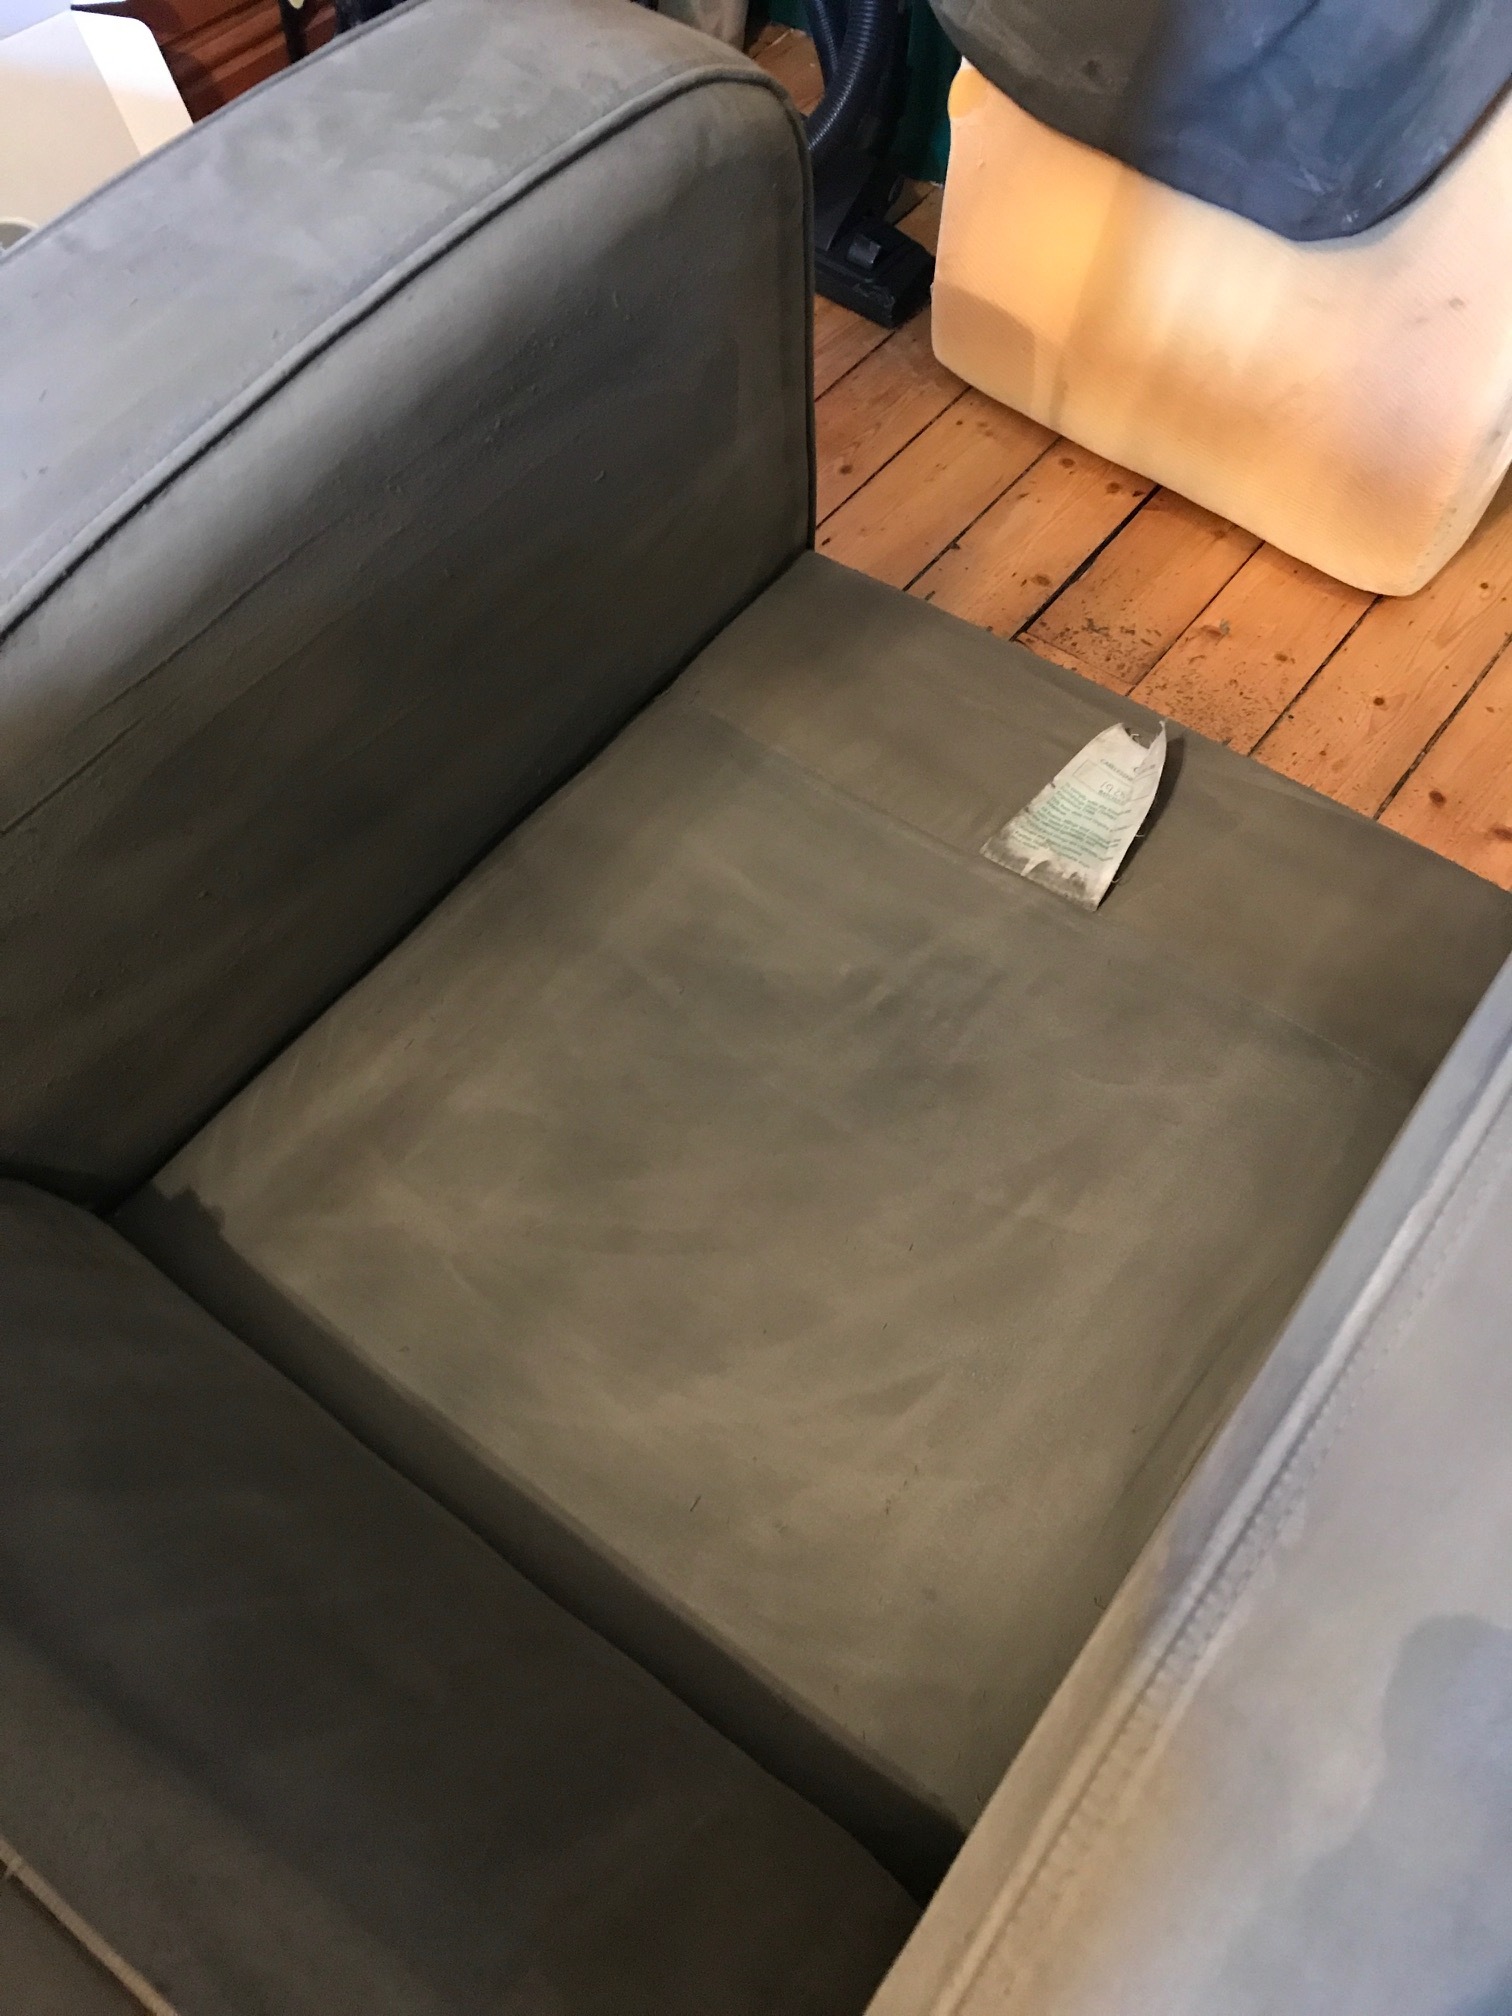

You also have to sand back the fabric between each coat. The painted fabric dries really stiff, un-moveable and hard, but the minute you rub the surface with a sanding block, it returns to feeling like fabric again. Magic!

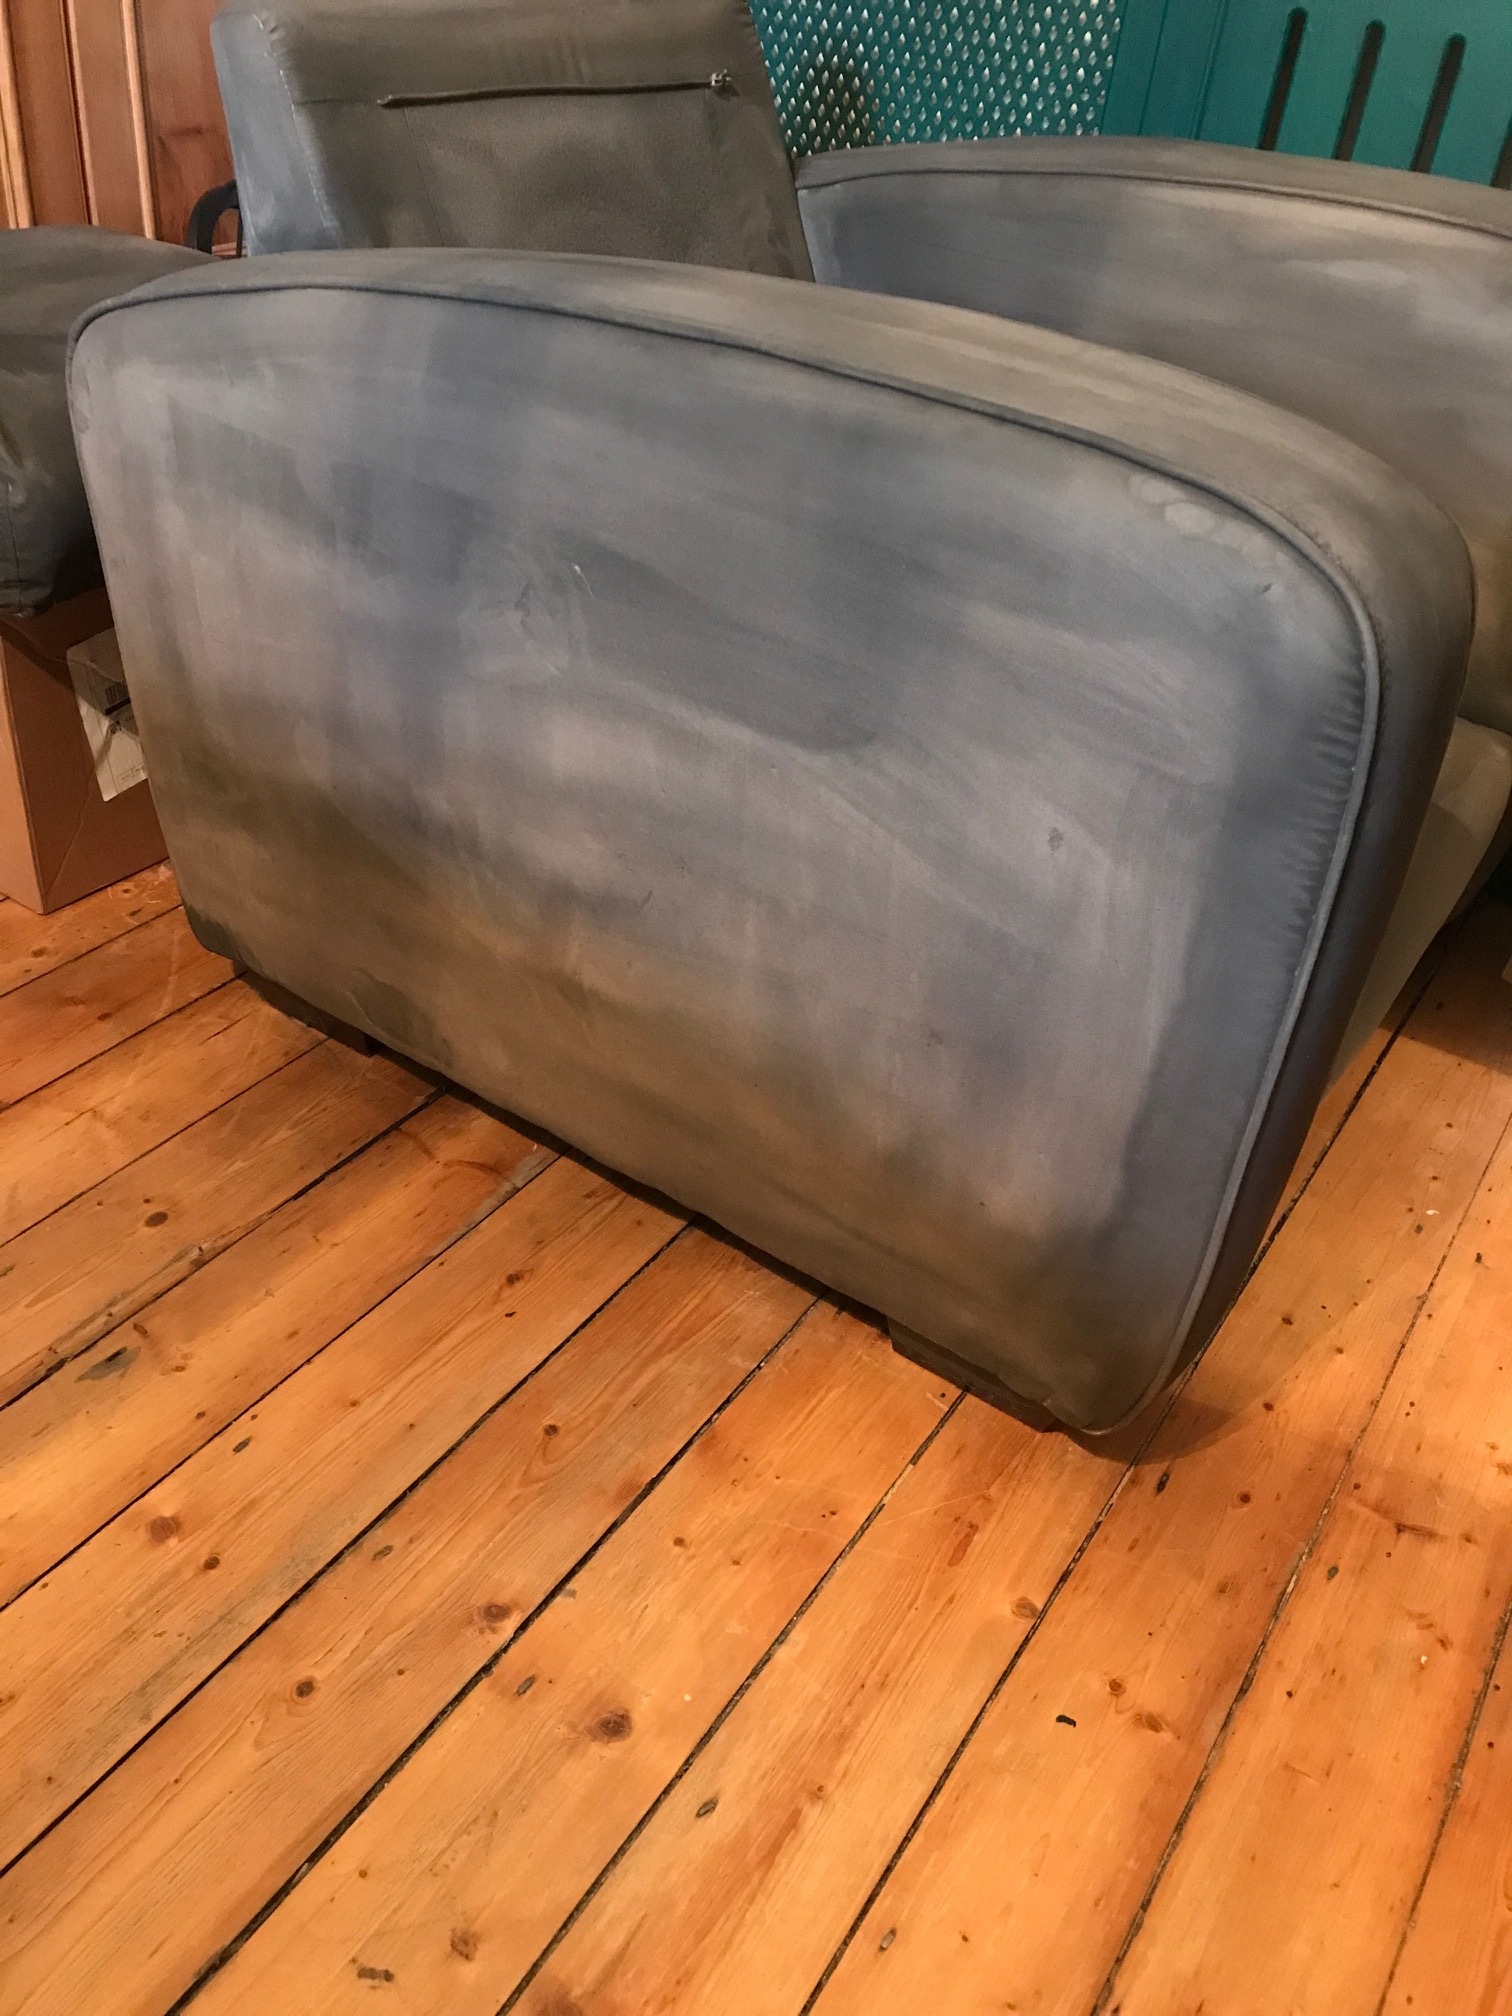
Second and third coats applied and dried. The thing I didn't know at the time, but do now, is that when you wax the chair, it goes much darker, so the imperfections that still bugged me after coat three, really weren't noticeable after the wax was added. I'm glad I risked stopping at that point rather than applying six coats of paint.


Here you can see the wax going on. I used Annie Sloan clear wax but any clear wax works just as well. You simply rub it into the fabric like you would with any furniture.
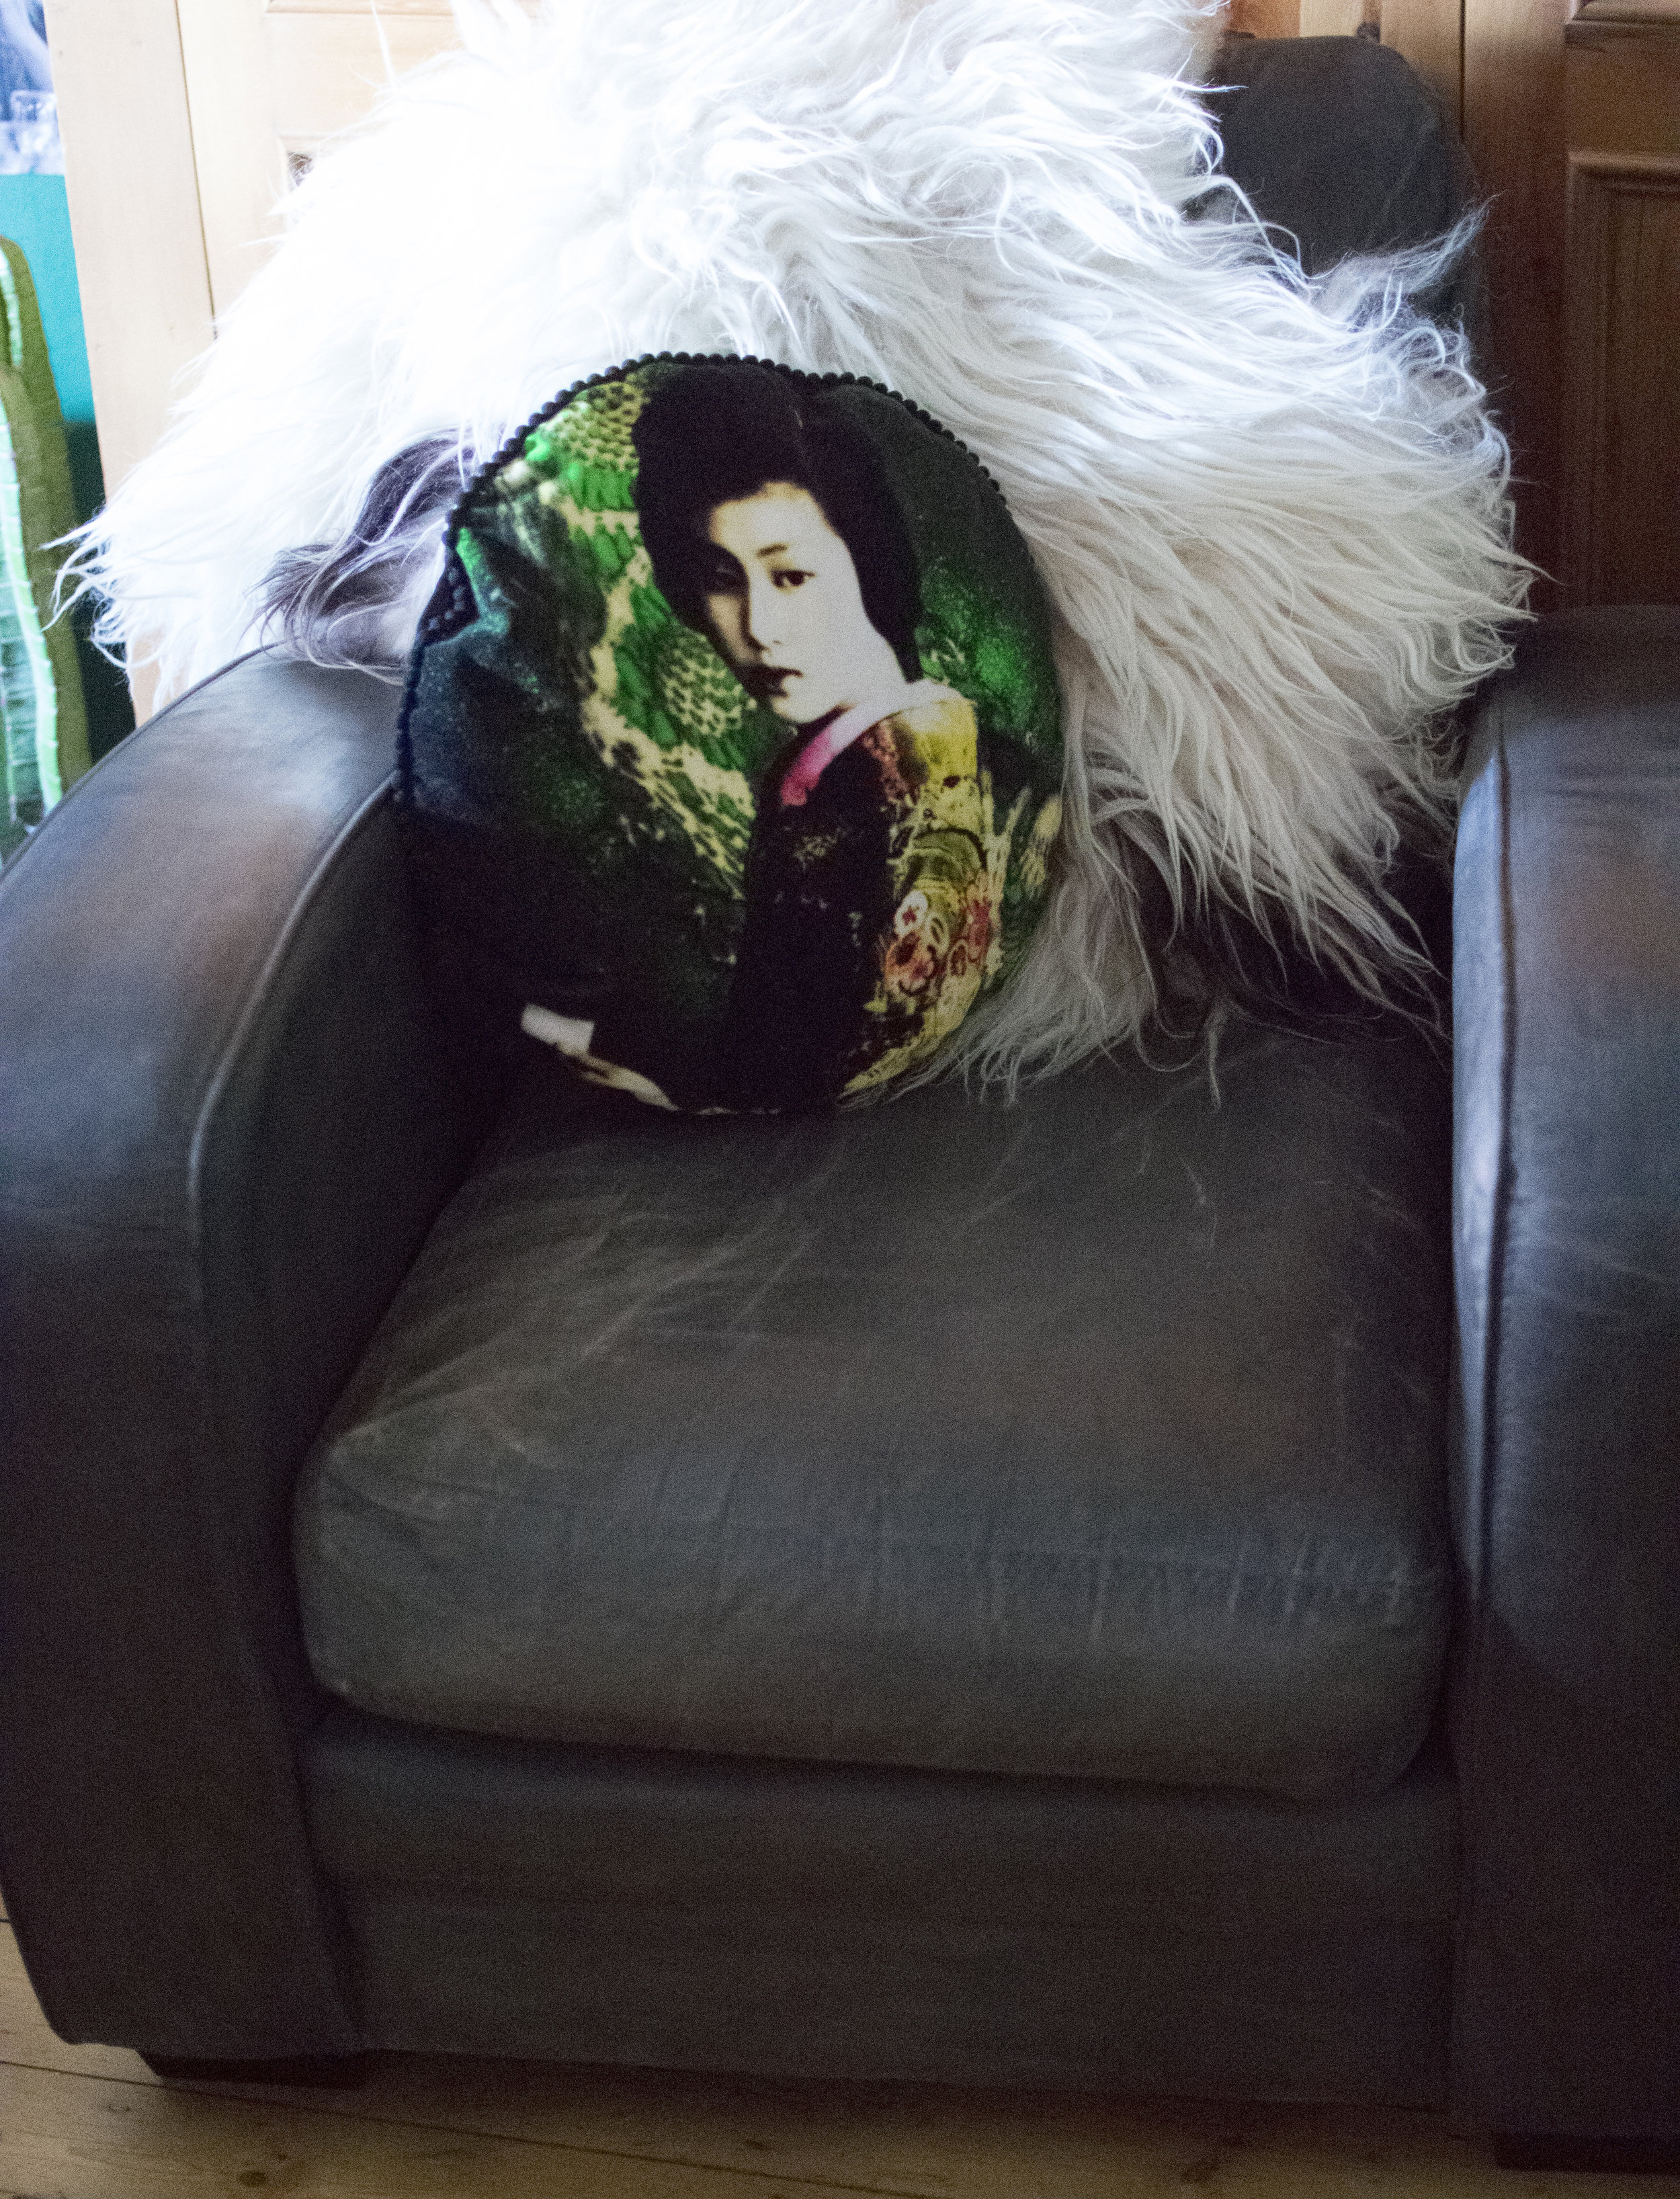
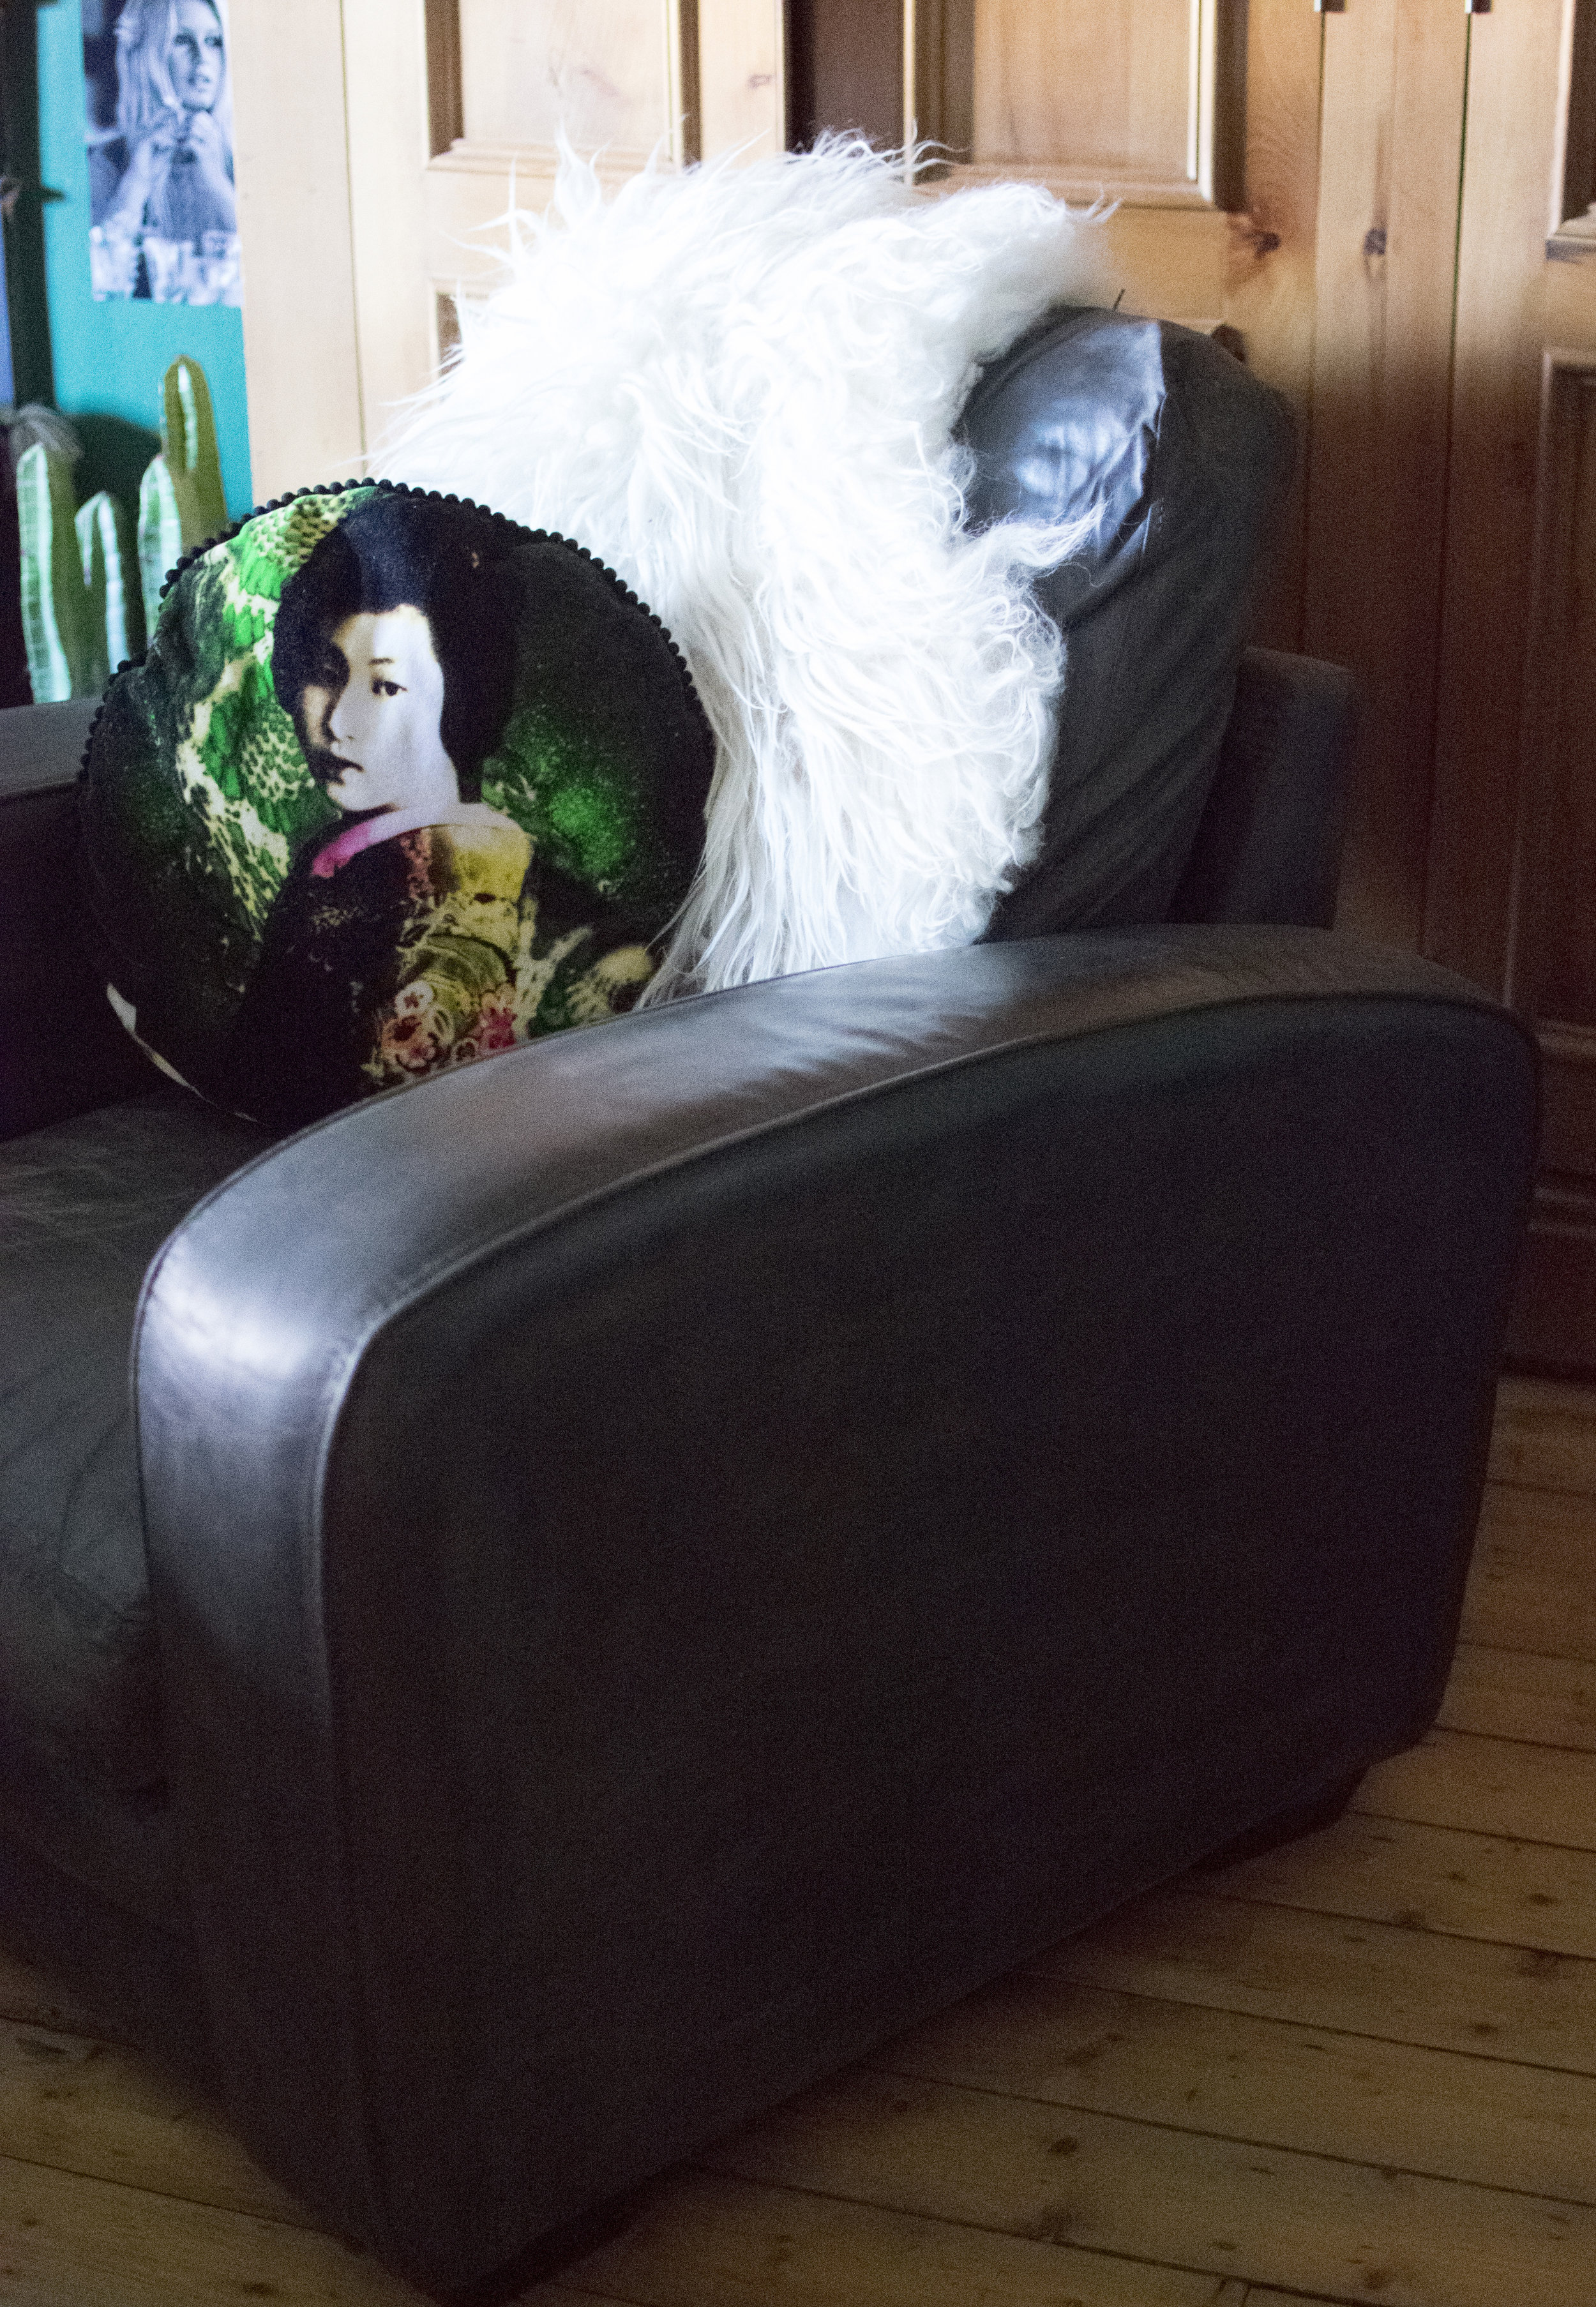
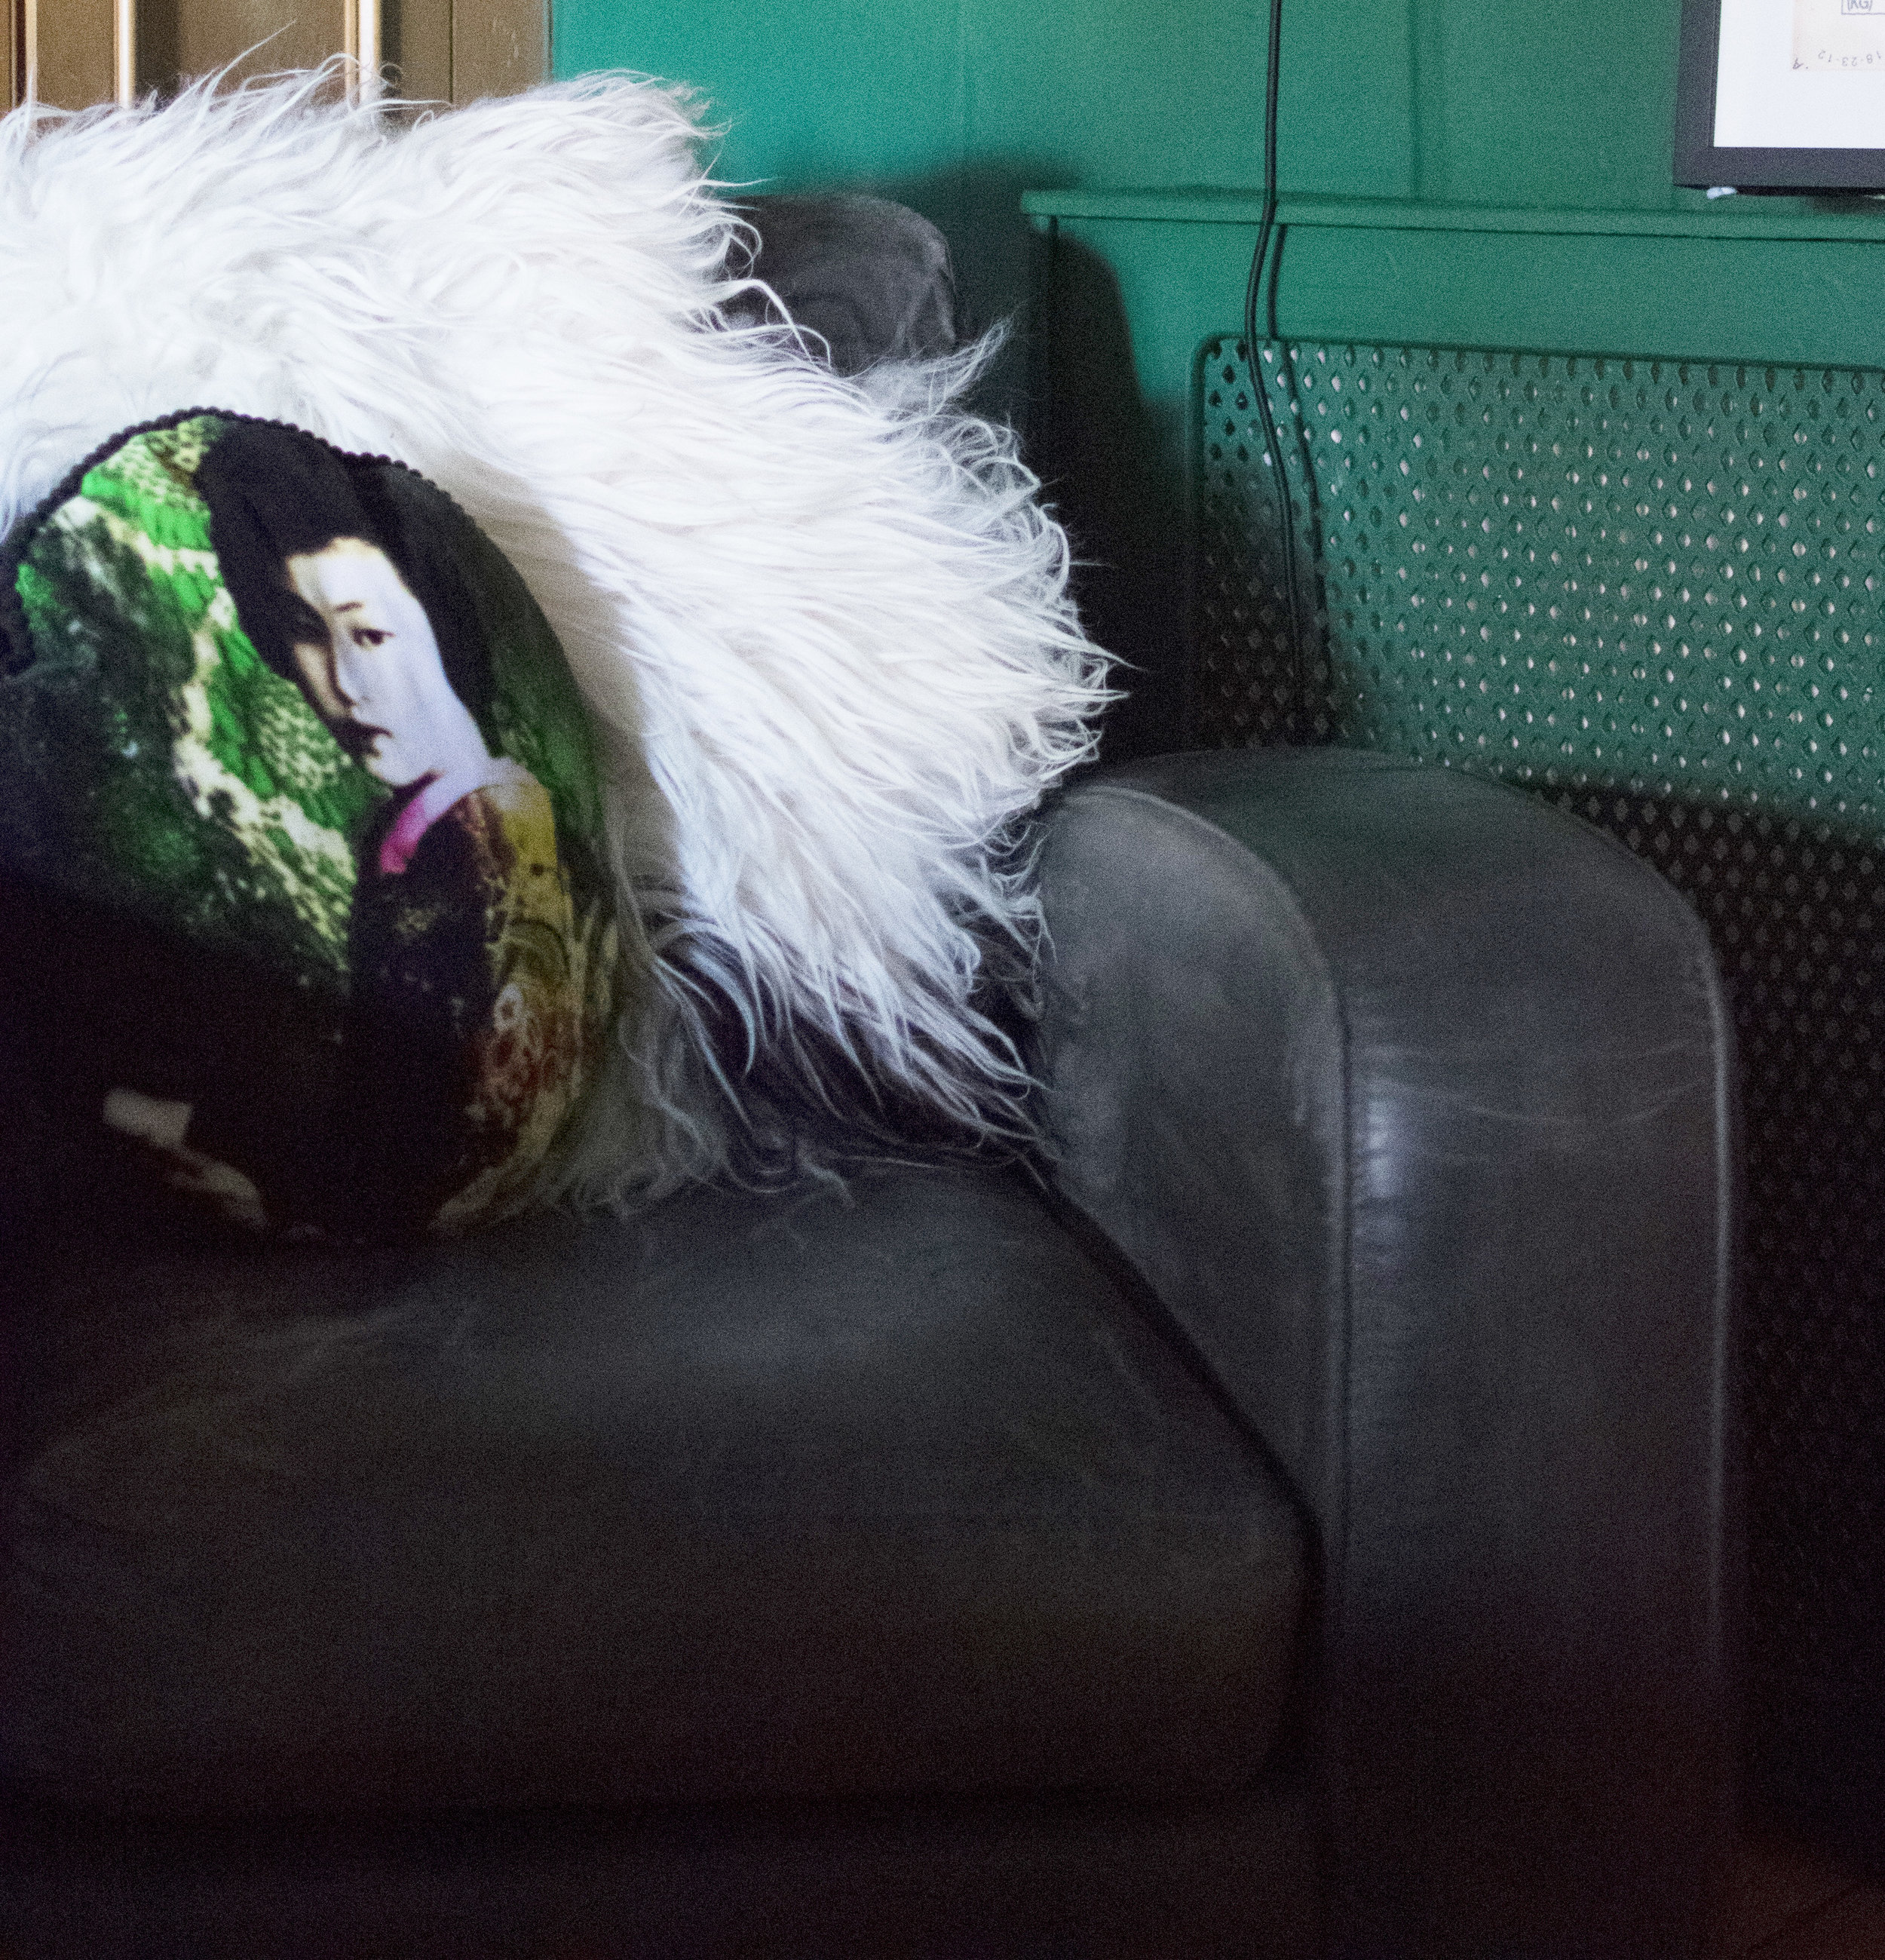
The surprising thing for me, was just how much like leather the final result looked and felt. Moreover, it had a lovely "aged" leather feel, like the chair had been that way for 20 years and was exactly what I was looking for.
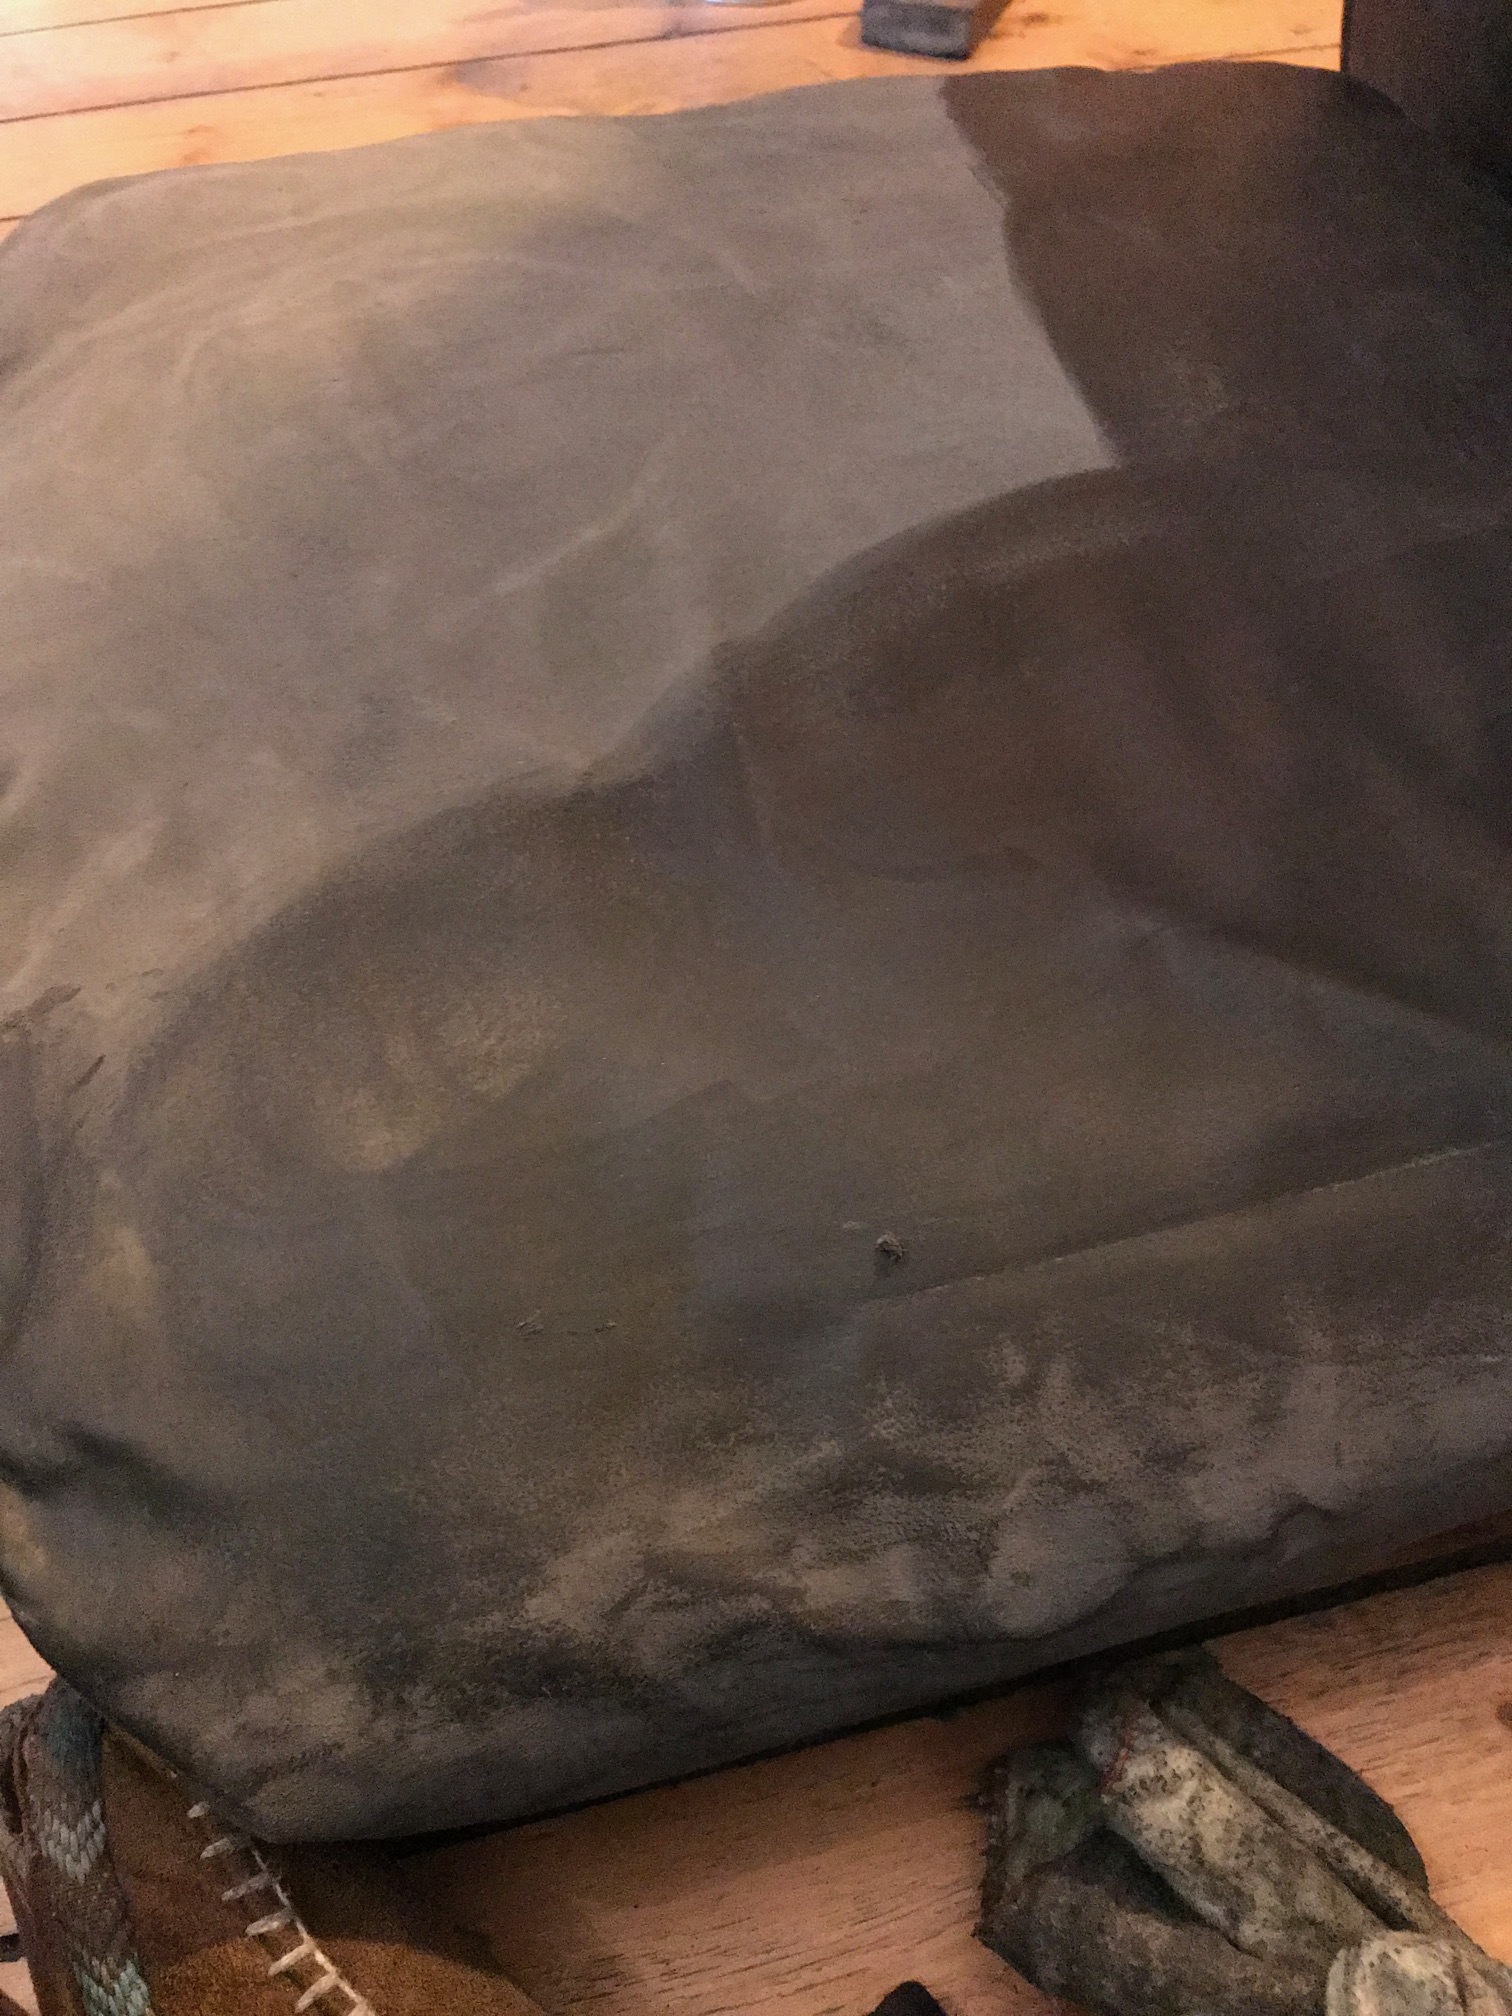
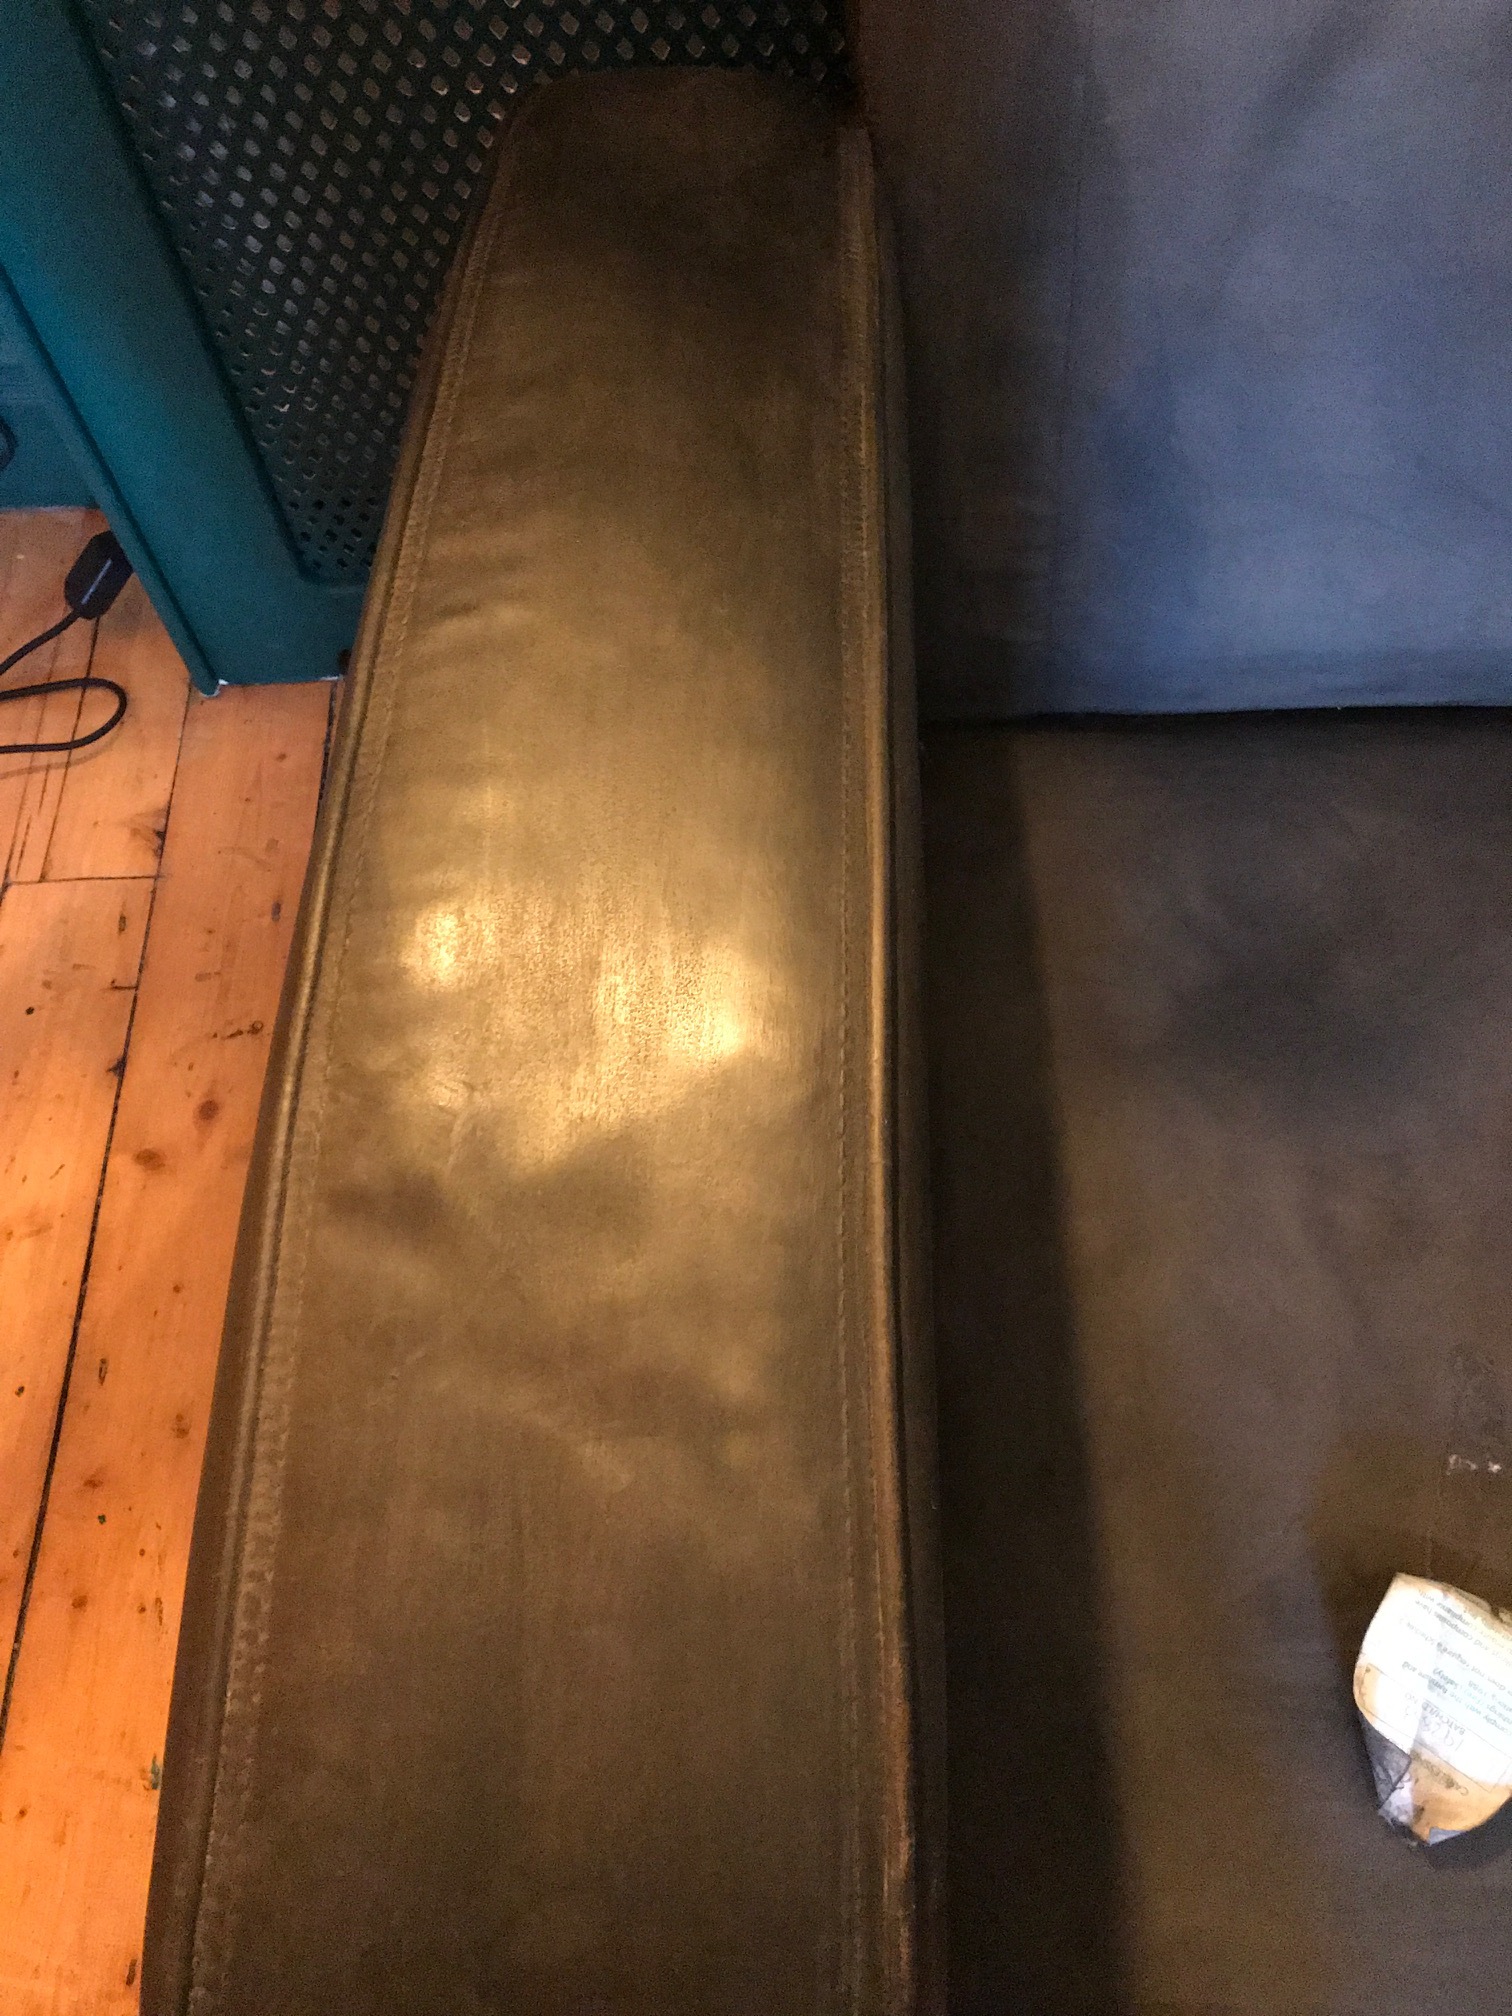

And so, here's the finished result. I only applied two coats of paint to my chair cushions as I wanted them to have a really aged look, like vintage leather gets after 50 years of someone sitting on it and below you can see the creases, the slight patchiness to the colour on the cushions.
I painted the cushions after I painted the chair and so had a bit more confidence in the look I could achieve.

And, I am so happy with the end result, so much so that with a bit more time, I'd happily paint more furniture around the house. It is also very cost effective, 1 litre of paint costs only £18.95 and since you are diluting the paint you don't need very much (in my case more than a tester pot but not the full 1 litre). Since the other items I already had I effectively got a brand new chair for £20 plus a bit of elbow grease.
The Girl with The Green Sofa


