Quick Furniture Hacks by Calum Balding
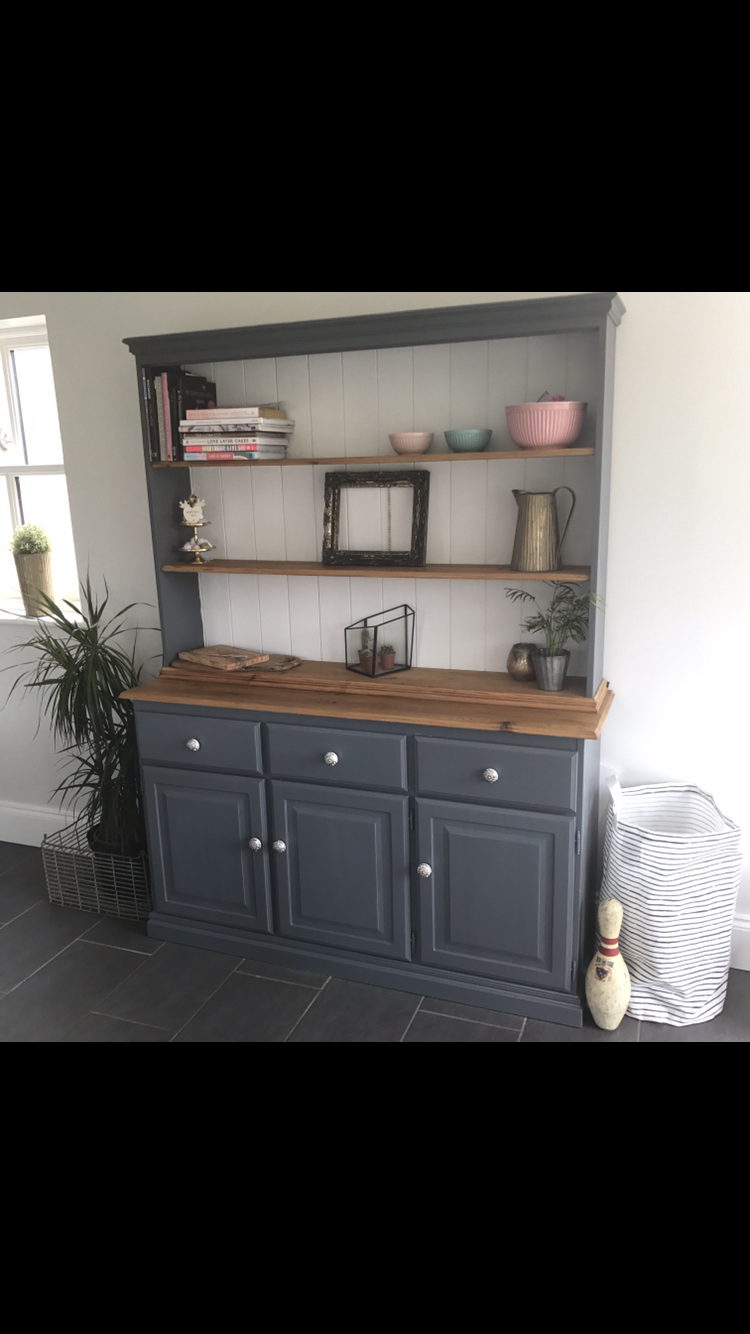
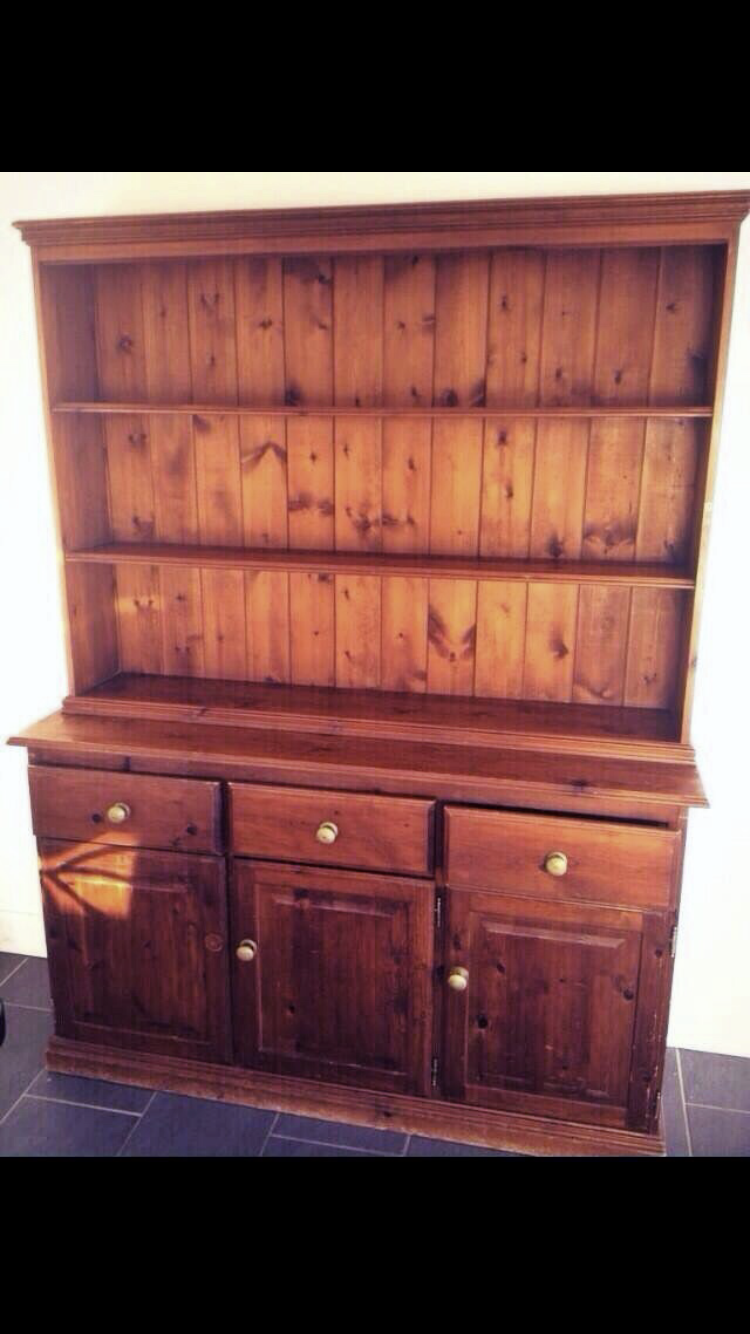
Sometimes when a budget is tight, or sometimes just because you believe solid vintage furniture is better built, or because you believe in up cycling to save waste, you will want to restore or change furniture. Today Callum Balding, up cycler, DIYer and self-builder, is joining me to talk about quick hacks for furniture.
Seven years ago, we decided to venture into the world of the self-build. This opened our eyes to a multitude of different issues. We adapted and became more practical. Our approach to planning completely altered. The biggest realisation was how quickly funds disappear!
So, when it came to furnishing our house we had to be somewhat savvy. Trawling car boots on a freezing cold Saturday morning, charity shops, eBay and gumtree. But most of all having to keep our old furniture. This is why I like to think a furniture hack, upcycling, repurposing or whatever we call it is a great option!
An old coffee table? Paint the legs, add foam on top and staple some fabric. Now you have a footstool.
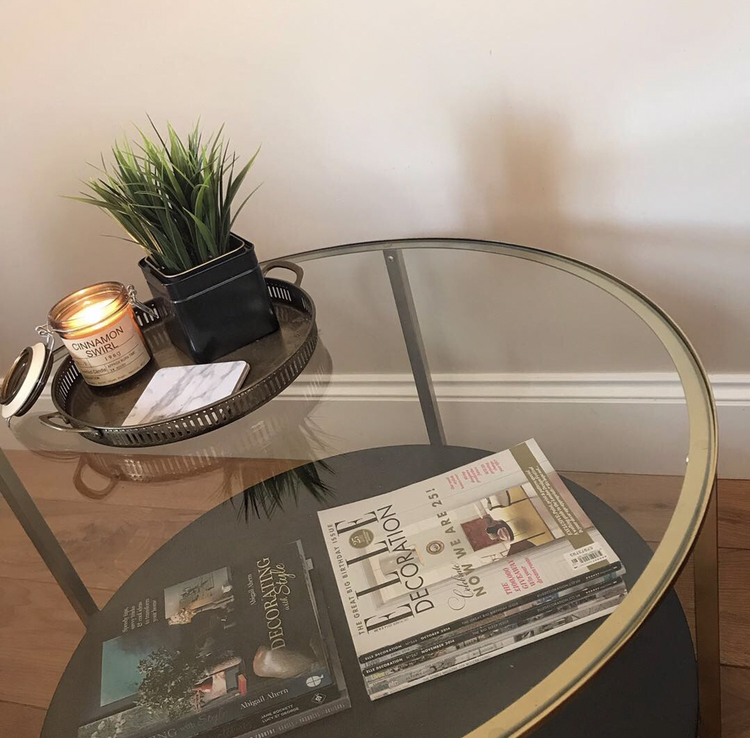
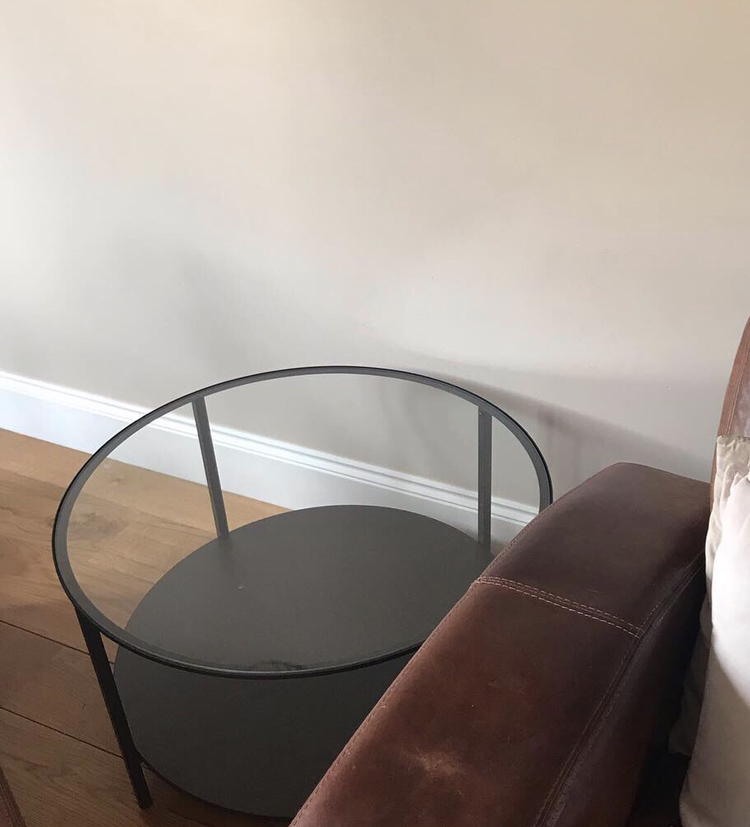
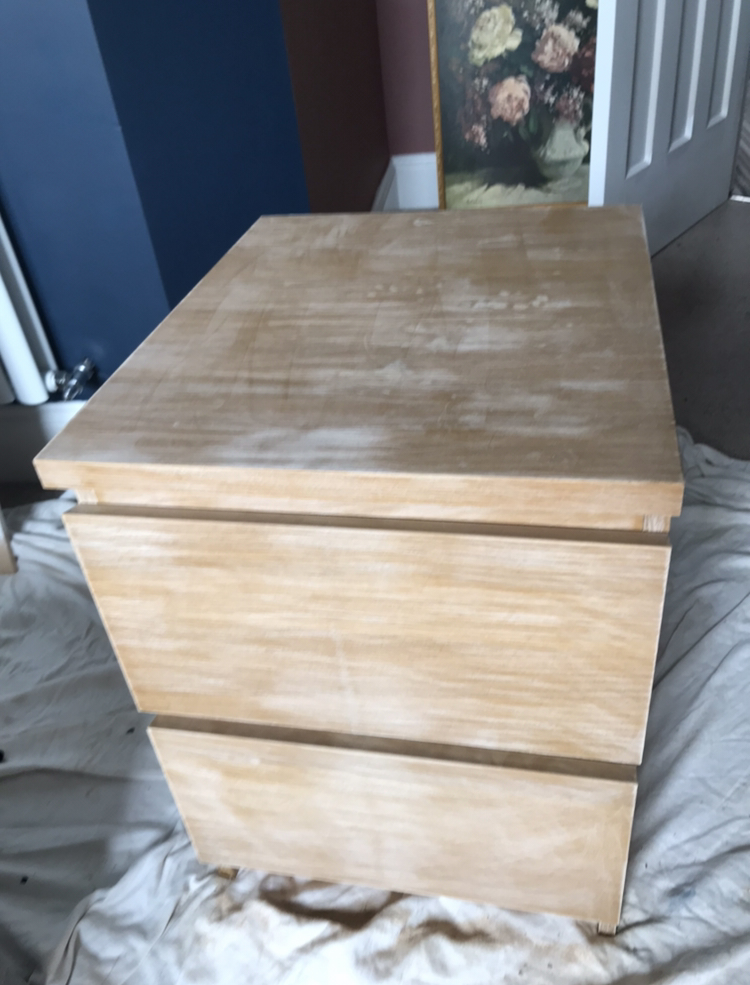
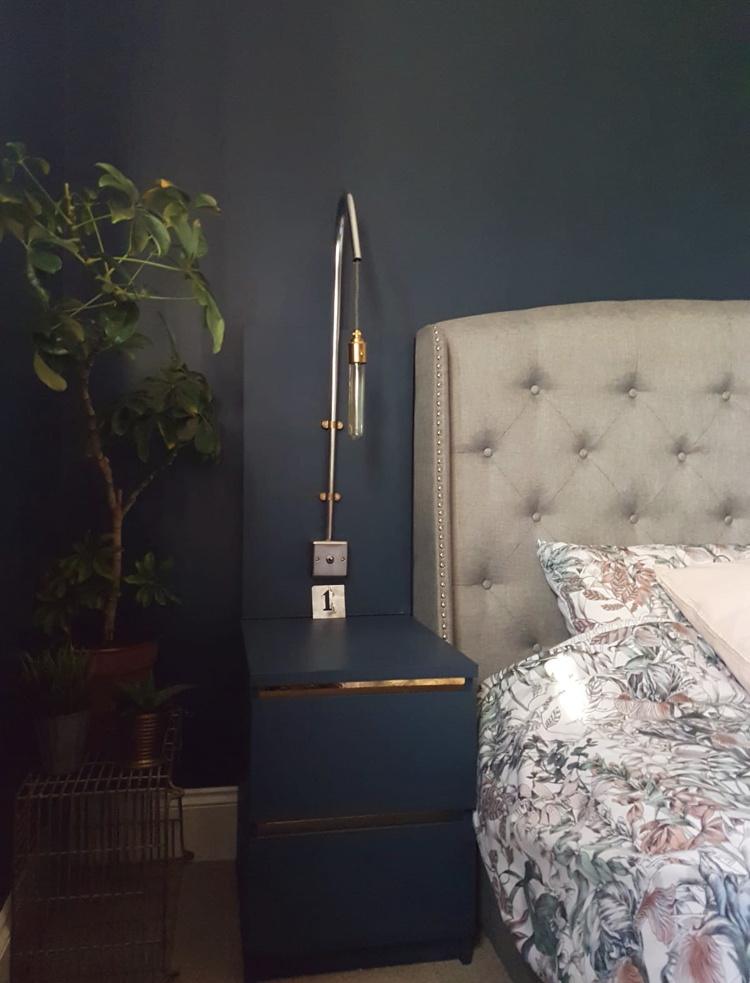
A set of old drawers? Sand back replace the hardware and use it as a bathroom cabinet for a sink to sit on. But It doesn’t always have to be old pieces, Ikea have probably some of the most versatile of furniture to personalise!
And what options are there I hear you ask? Well one of the quickest, not to mention, my favourite, is spray-paint! Anything from just spraying the legs or handles, to the complete treatment.
Top 5 tips for spraying:
▪Ensure surface to be painted is smooth, clean and debris free. (Use sandpaper or steel wool then lint free cloth)
▪Shake the spray can 3-4 mins.
▪ One coat of primer helps get an even finish.
▪Spray light coats at around 10” away from surface.
▪Not spraying? Soak the nozzle in thinners overnight. Still not working? Soak can in hot (not boiling) water to increase can pressure.
Other quick changes are hardware like knobs, handles and legs. And, if you can’t afford that luxury, spray them. I’m a big fan of brass fittings and Plastikote brass is my favourite spray to get this look.
Vinyl or films provide a very quick change. However, a word of warning: Ensure the surface is clean of dust as every little speck shows through the vinyl! The trick to getting a good finish is taking your time. Bubbles will appear and my tip is to use a very fine needle to prick the bubble then rub with a cloth (acupuncture ones are great).
Sand it back! If it’s wood, sand it and apply a stain, oil or varnish. For metal try polishing it. There are metal polishing compounds like Brasso and Silvo. For brass and copper, sprinkle coarse salt on a half-cut lemon and rub on metal, wipe with damp cloth then buff. For tarnished metal, rub ketchup all over, leave for 30 mins, rub clean then buff. You can even add new planks of wood to change the look. To add character, take the new wood outside, place on gravel and walk on it. Hit it with a bag of chains, or hammer it to add texture. Basically, get rough with it, then apply desired finish.
Like everything with DIY preparation is key. Spend longer on the prep for a better finish. Be brave and give that old piece a new life! What’s the worst that can happen? You would just have to start over again if you don’t like it. Believe me when you get it right they’ll be some of your favourite pieces of furniture!
The Girl with The Green Sofa


